The Moral of Making Chairs
In order to learn, we have to practice and, most importantly, we have to fail. This is what we call experience. Sure, the goal of our chair class is to create beautiful, comfortable and well-crafted pieces that awe everyone, but first things first.
Chair crafter Dan Batt told me while working through his piece: “Jeeze! There’s like a thousand decisions you have to make doing this!” Sage, only I would say closer to 10,000, but who’s counting? Guess what? It’s impossible to make them all correctly.
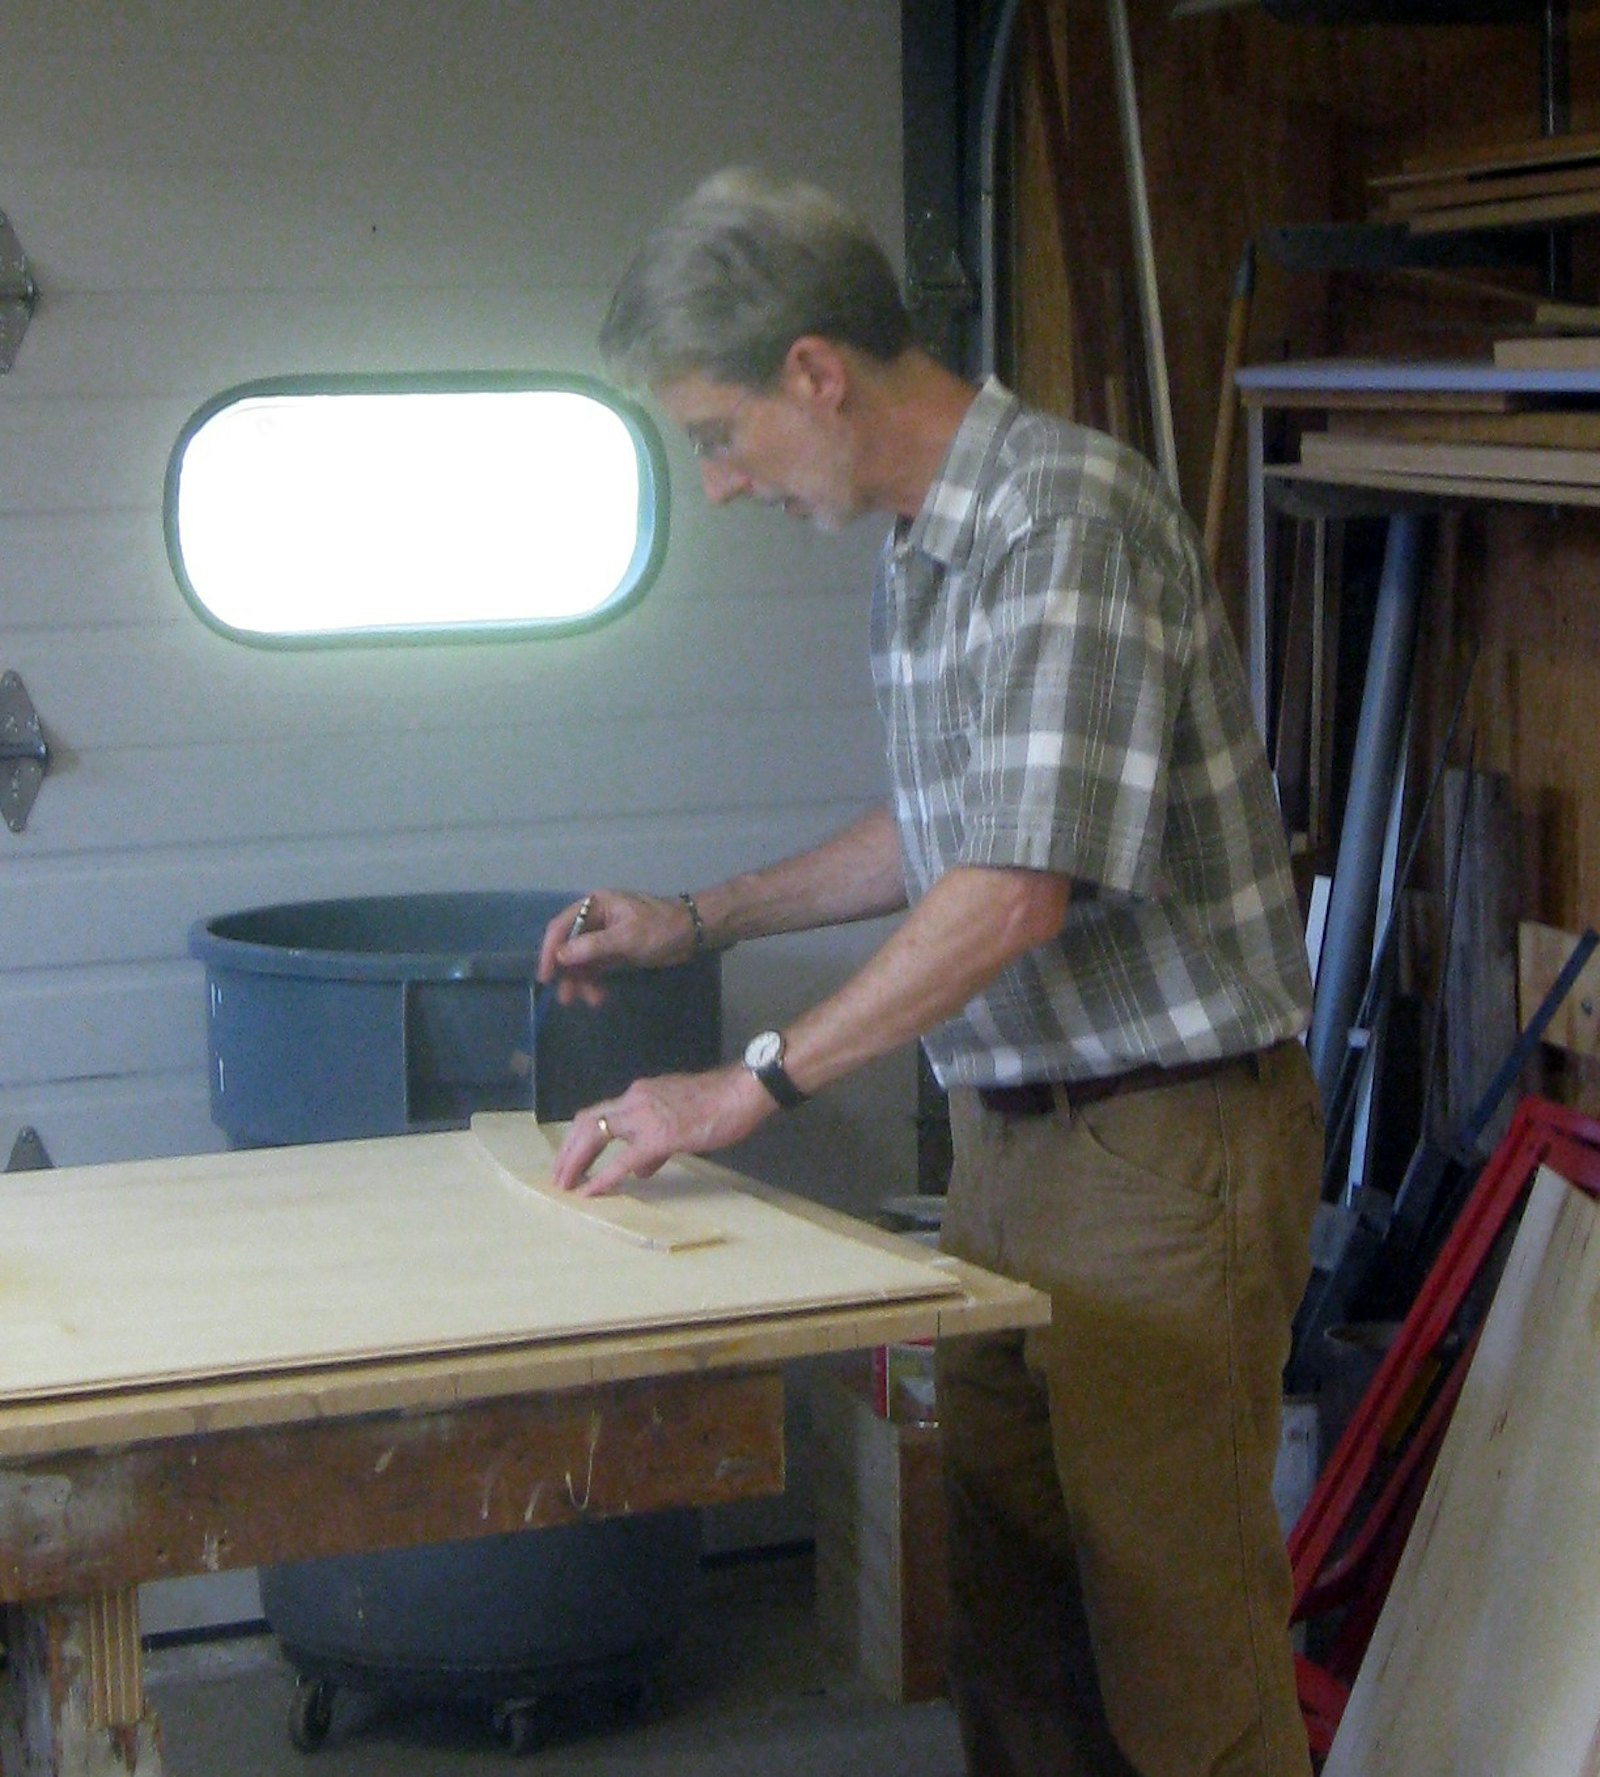
Editor’s Note: The Centerbrook Chair Workshop is a design/build exercise offered semiannually to architectural staff and is led jointly by Patrick McCauley, the firm’s Master Model Maker and Industrial Designer, and by Bill Rutan, Master Carpenter and Facilities Manager. Images of the recent harvest of unique chairs follow, along with prose comments by Patrick and the six participants; Bill’s review is in rhyming couplets, well mostly.

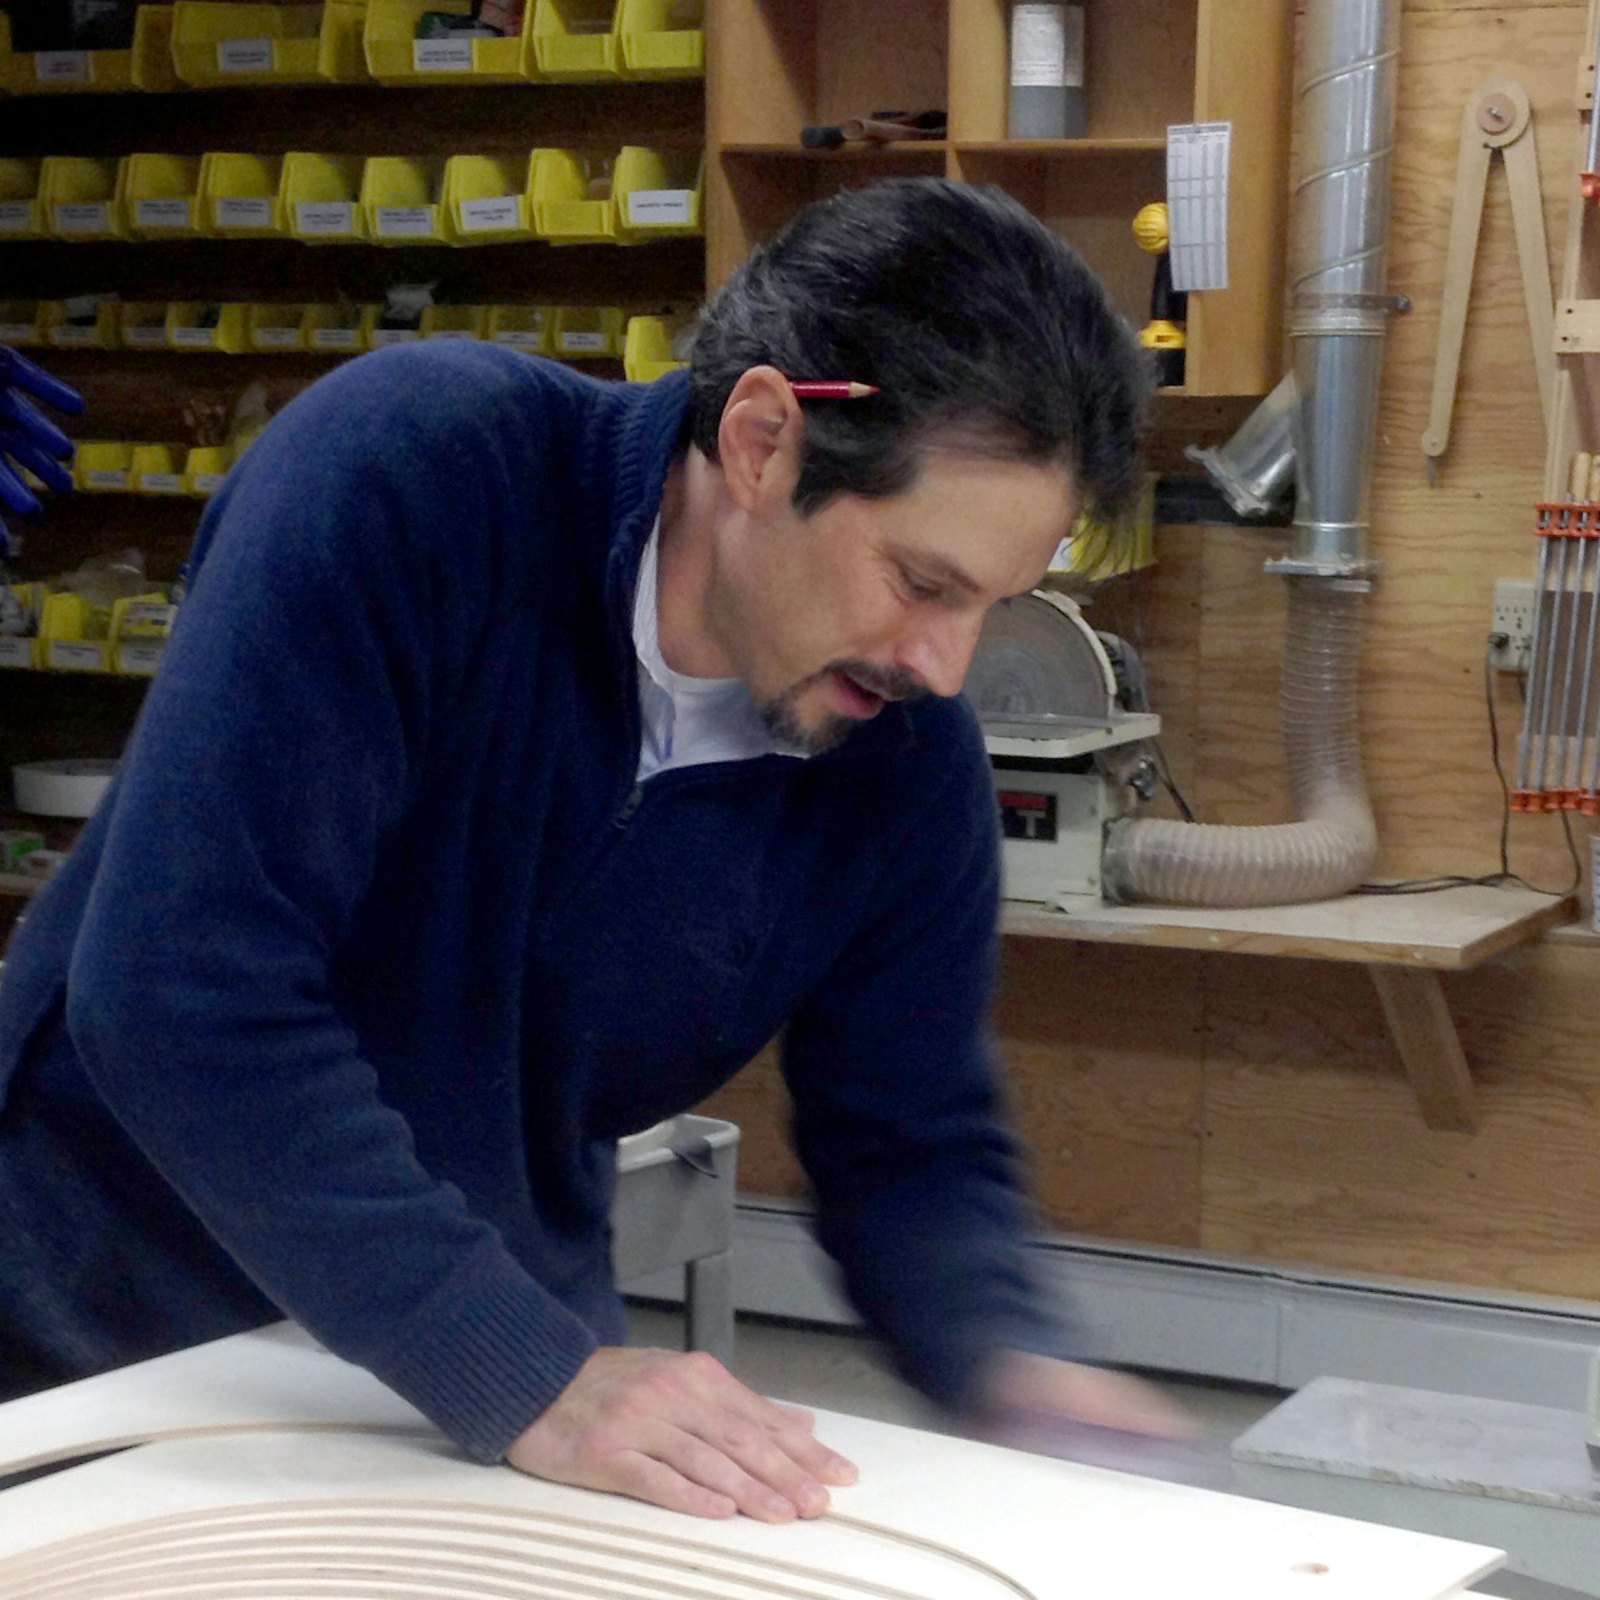
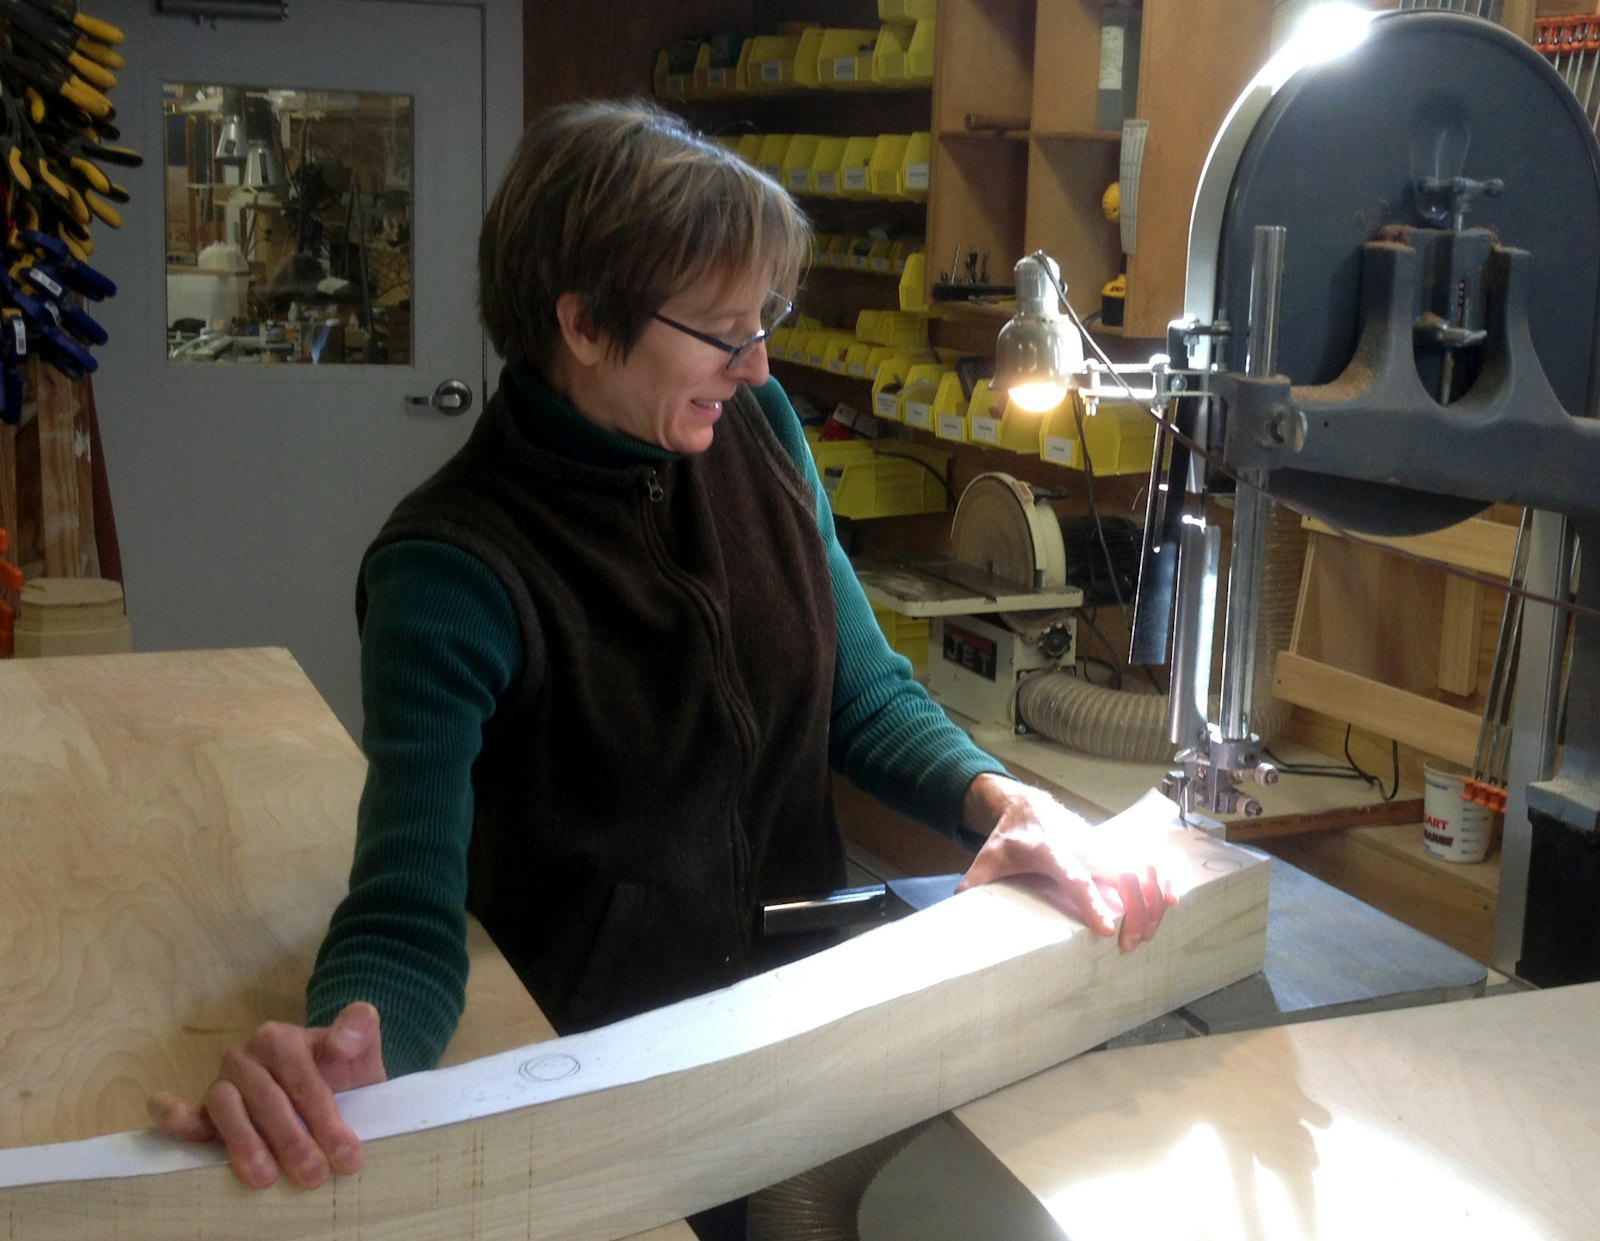
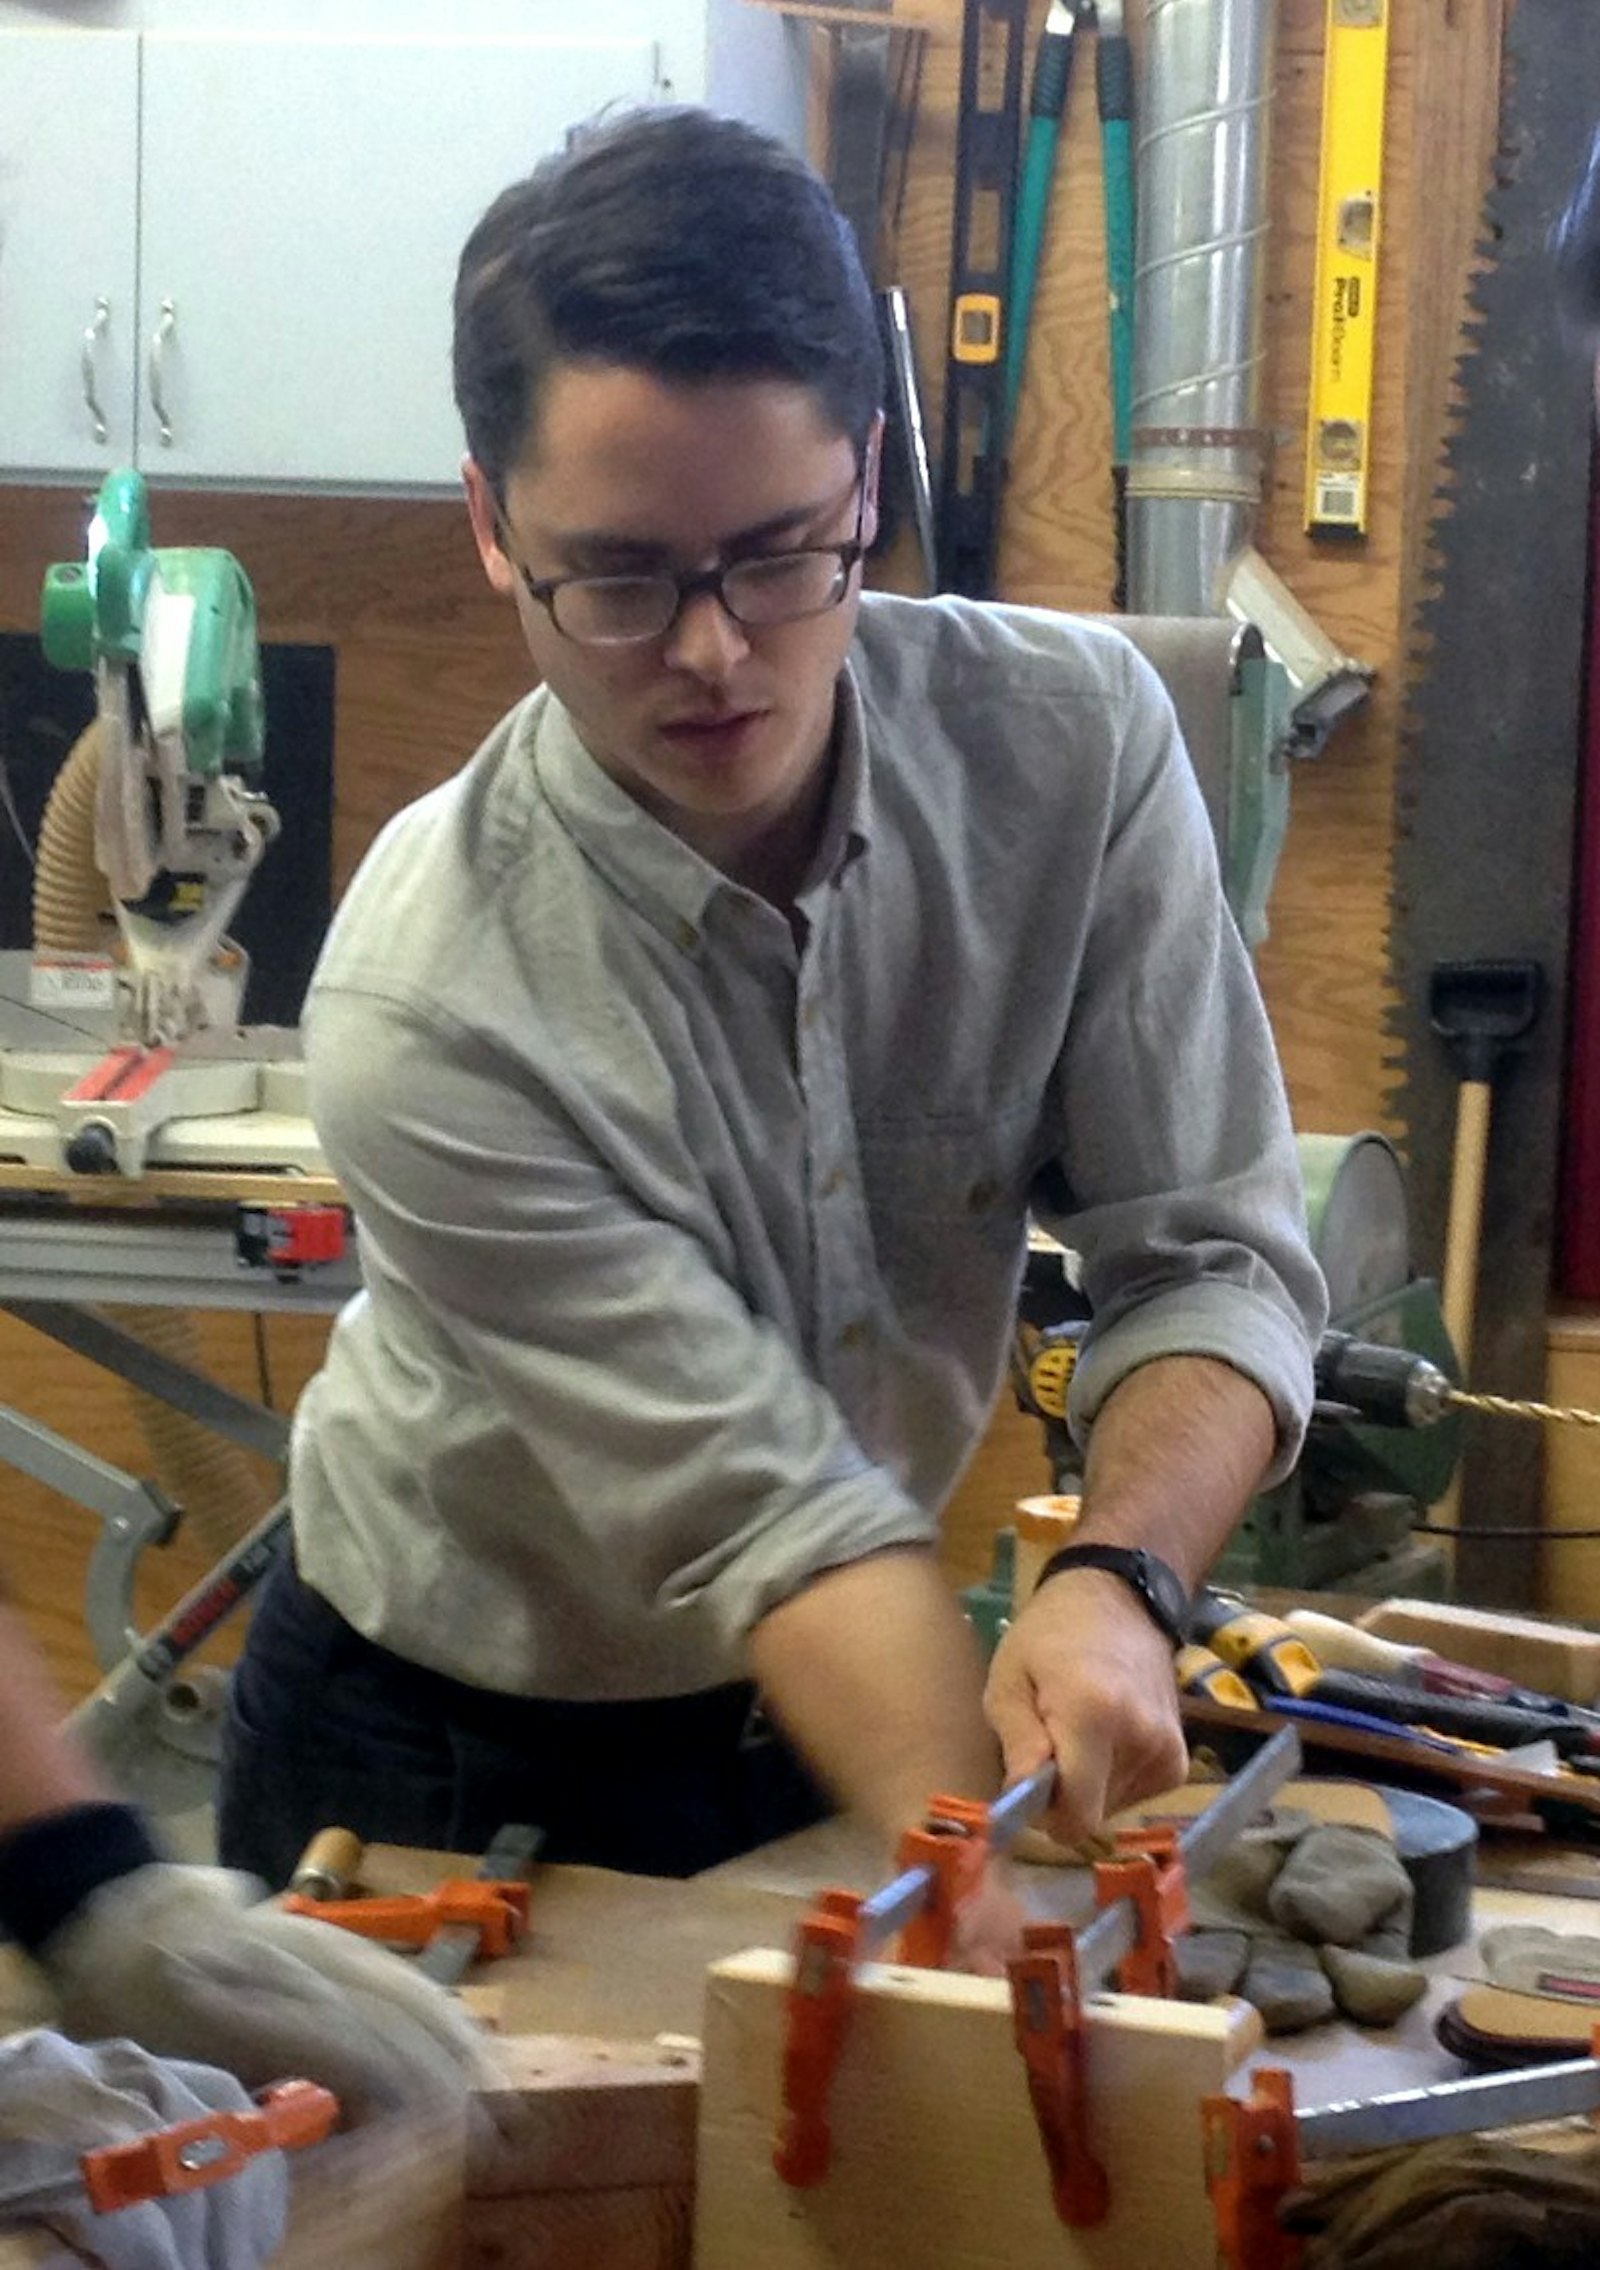
Warren Shaw from Thos. Moser holds a design review session with Dan Batt and his model
Chair Workshop Distilled
By Bill Rutan
A few clicks of the mouse
And you have plans for a house.
To build a chair, though smaller,
Is an order much taller.
There are curves to accommodate, angles to measure,
And it must look awesome, this object of leisure.
With your dreams and sketches, it’s now time to venture
To the world of dust, loud noise, and danger.
There are guides here to teach and in time, you learn
How to saw, to plane, to sharpen, to turn,
The dovetail, steambending, the mortise and tenon,
Welcome to the Woodshop every Wednesday at 11.
New skills in hand, you begin to fashion
The pieces and joinery to build your creation.
And finally, at last, after much toil and sweat
You have something of beauty on which you can sit.
Some of our chair people were loath to accept the fact that they are not expert woodworkers as soon as they stepped over the woodshop threshold. They would justify and modify and deceive themselves into thinking that they hadn’t screwed up when they had. They changed their design in order to accommodate their error. They often spent much more time and energy justifying and accommodating the mistake, as opposed to admitting it and fixing it right away.
Think about it, when did you do a good job at anything the first time you did it, like riding a bike? Woodworking is no different. An old craftsman once told me; “It’s not the mistakes you make, but how you fix them that counts.” Boy, was he right on. Remaking a part is not a sin. The most experienced and capable woodworkers screw up; they just do it less and they are better at fixing their mistakes.
Mistakes in the woodshop are never a waste of time or material. The woodstove can always use the kindling, and God knows, while I may have only made one mistake that I can recall, I’ve somehow made enough kindling to keep me warm all these years.
Reno Migani
Reno Migani
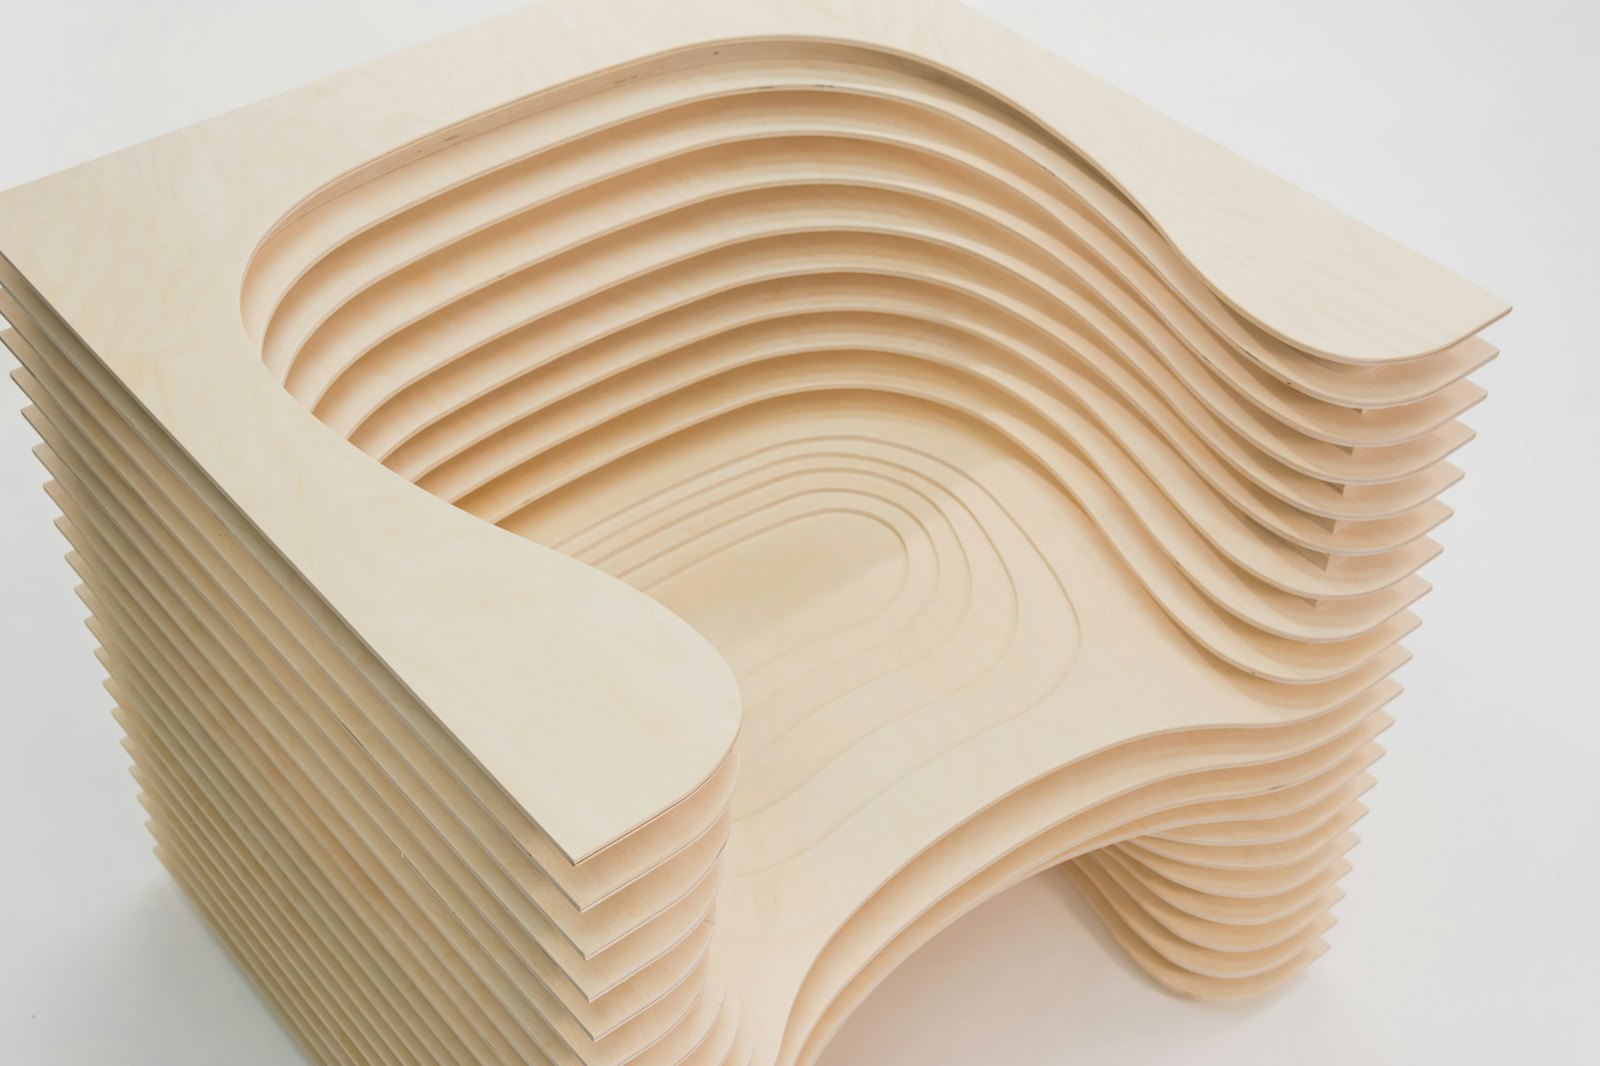
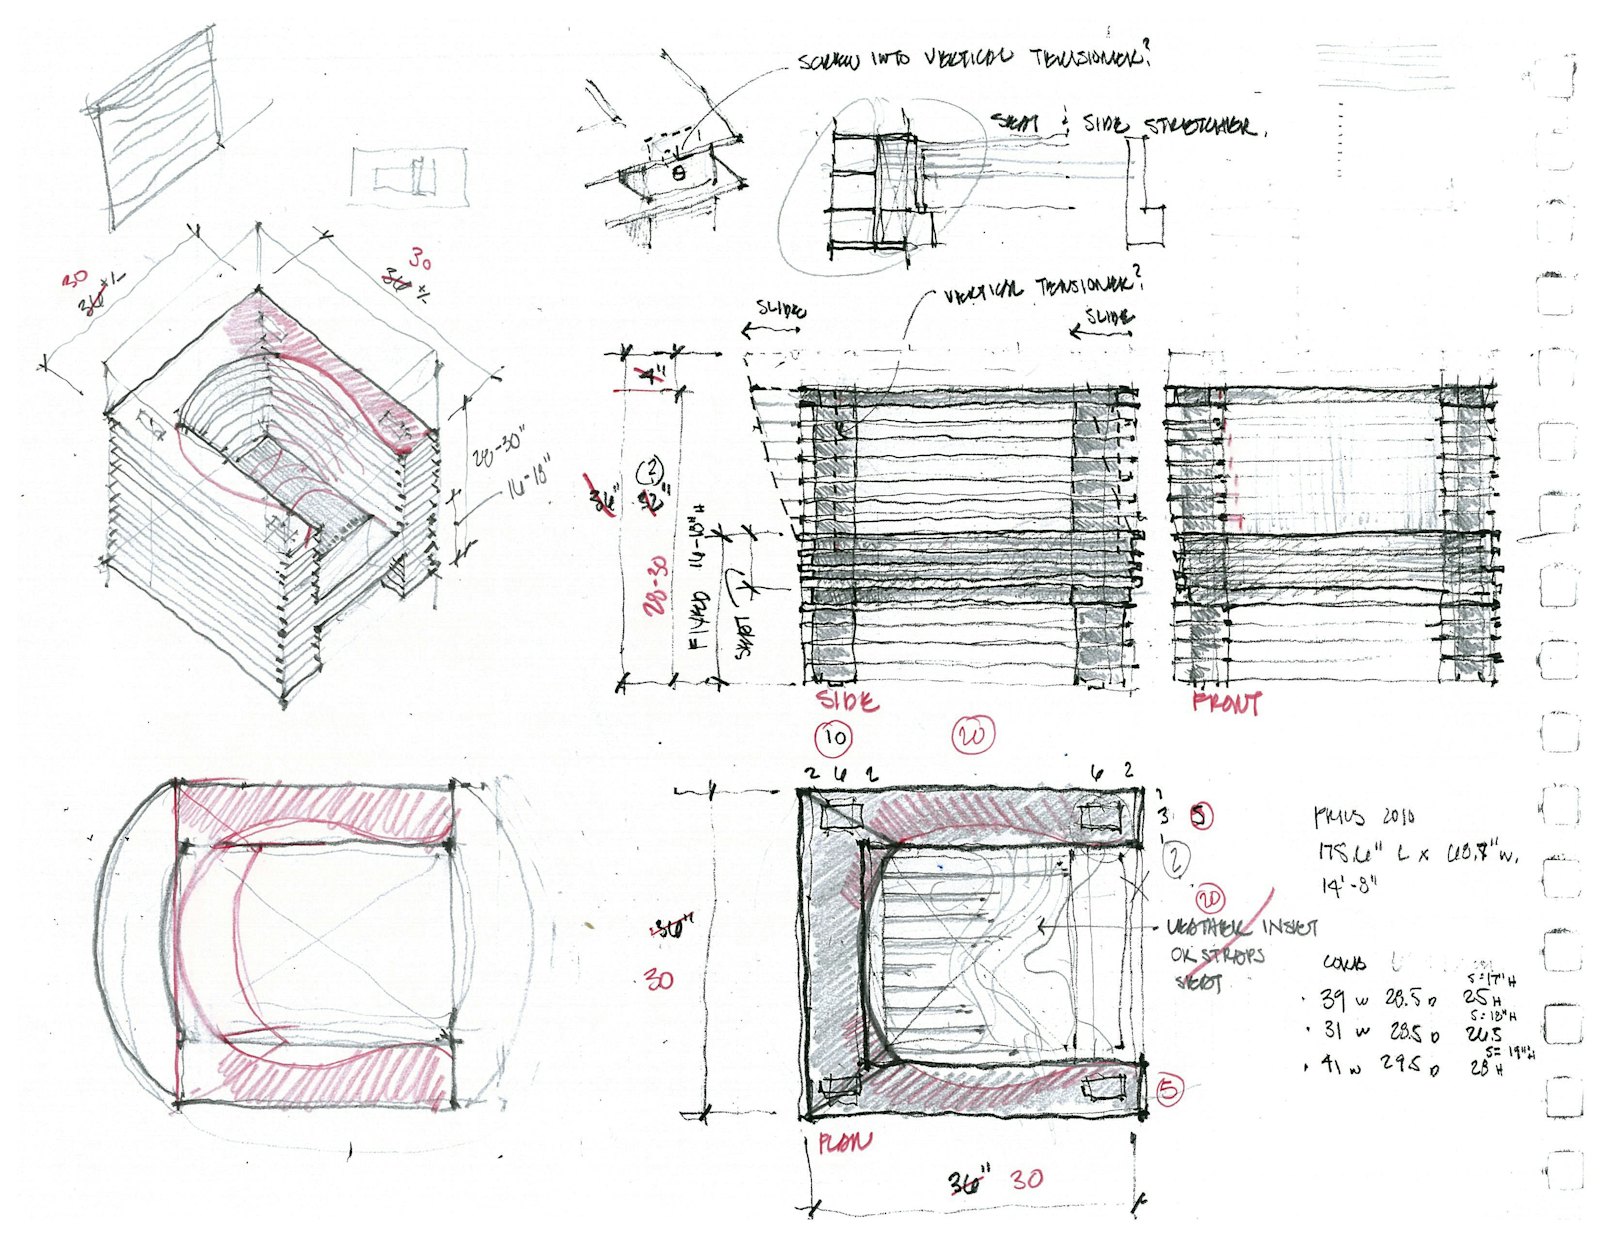
I’ve always enjoyed the clean, simple lines of a 1920s era club chair and am especially fond of how comfortable some of the boxier chairs can be despite their harsh cubic exterior. Throughout the natural and built environments, there is tension between seemingly contradictory forces and qualities. Harmony and comfort come when those forces are harnessed and crafted in a way to create serenity and balance between them. I chose the club chair as a precedent to explore and exploit a number of these dichotomies.
The challenge was how to comfortably integrate the human form into a pure cube. I wanted to visually capture the energy of two forms reacting with each another while maintaining their own identity. Sitting in a chair is a very personal experience, but I also wanted to explore how to easily imbue this design with mass market potential. To do this, ease of construction and assembly was paramount. I decided to break the cube down into layers. Thin, horizontal plywood sheets equally spaced the full height of the cube would be the armature for the chair, with each layer stacked around vertical dowels hidden within plywood spacers at each corner. There are no mechanical joints in the chair: with layering, gravity provides the primary support. This construction system proved extremely useful during the design process as well. Starting with my own measurements, I carved and sculpted each layer around my own profile out of the cube, while allowing some flexibility to accommodate a range of users. Once settled on the basic form, I used the office laser cutter as my primary tool to work back and forth between a quarter-scaled model and the computer, continually sculpting, testing, and sliding the layers on and off the armature until the final form was complete.
On the final chair, the layering allows light to bounce across the subtle contours and gives the mass of the chair a visually light and almost transparent quality. While still maintaining the overall shape of a cube, each face offers a unique vignette around and into its structure. You are able to see the resultant form of forces at work through each side, much like a canyon after a river’s passage through its walls. A peaceful resolution.
Mary Wilson
Mary Wilson
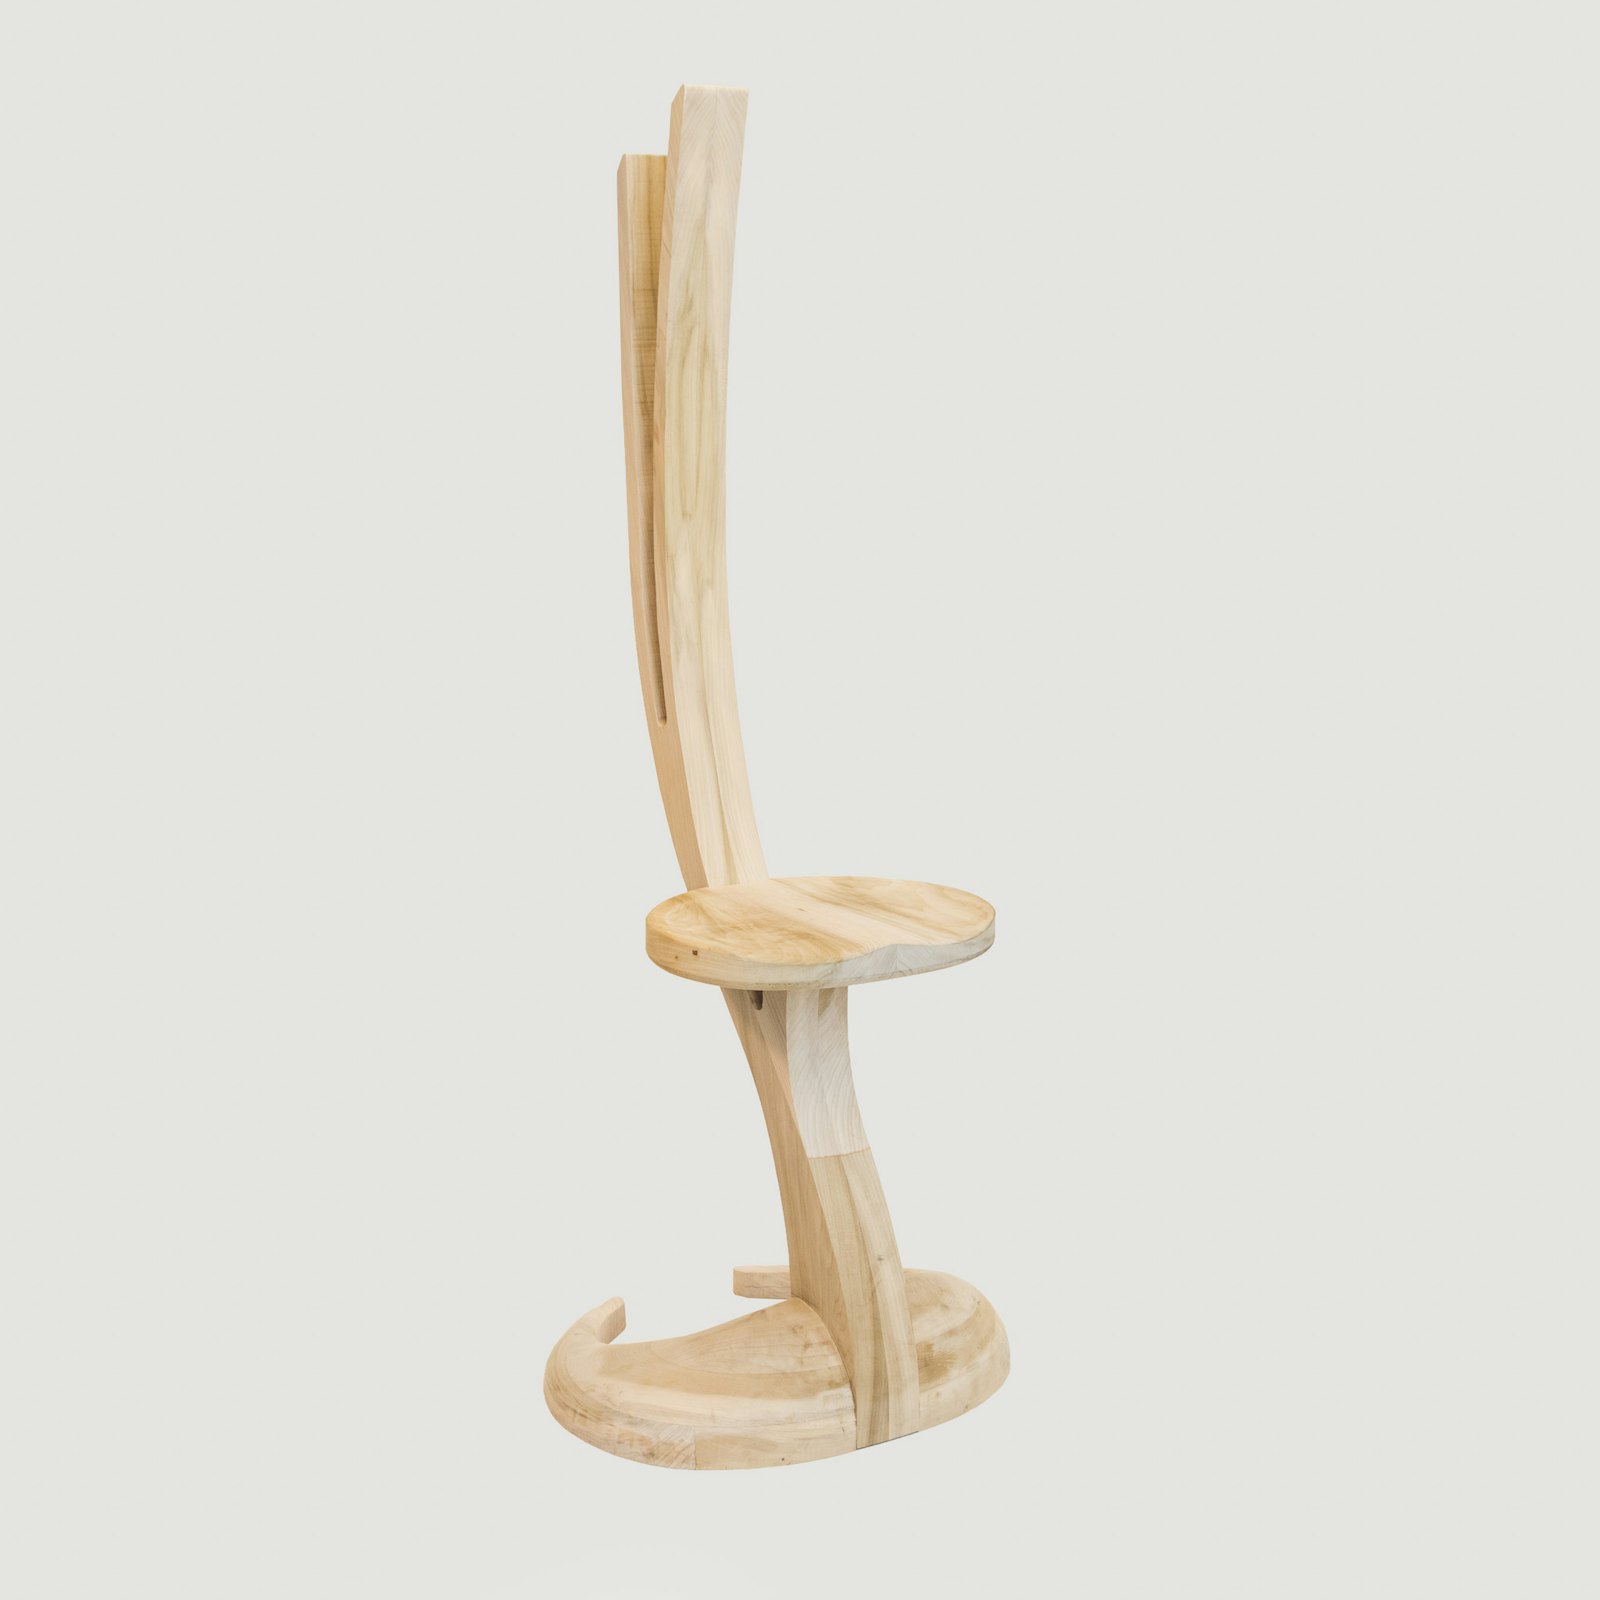
Much of my Centerbrook chair experience was about overcoming certain fears – fear of the blank page, fear of nearly every power tool in the shop, and of course my long time fear of making a mistake – in front of other people – especially my peers. Thus, despite my very best intentions, I spent our class time observing lessons and critiques from the back row and then running home to work in the company of my nonthreatening cats.
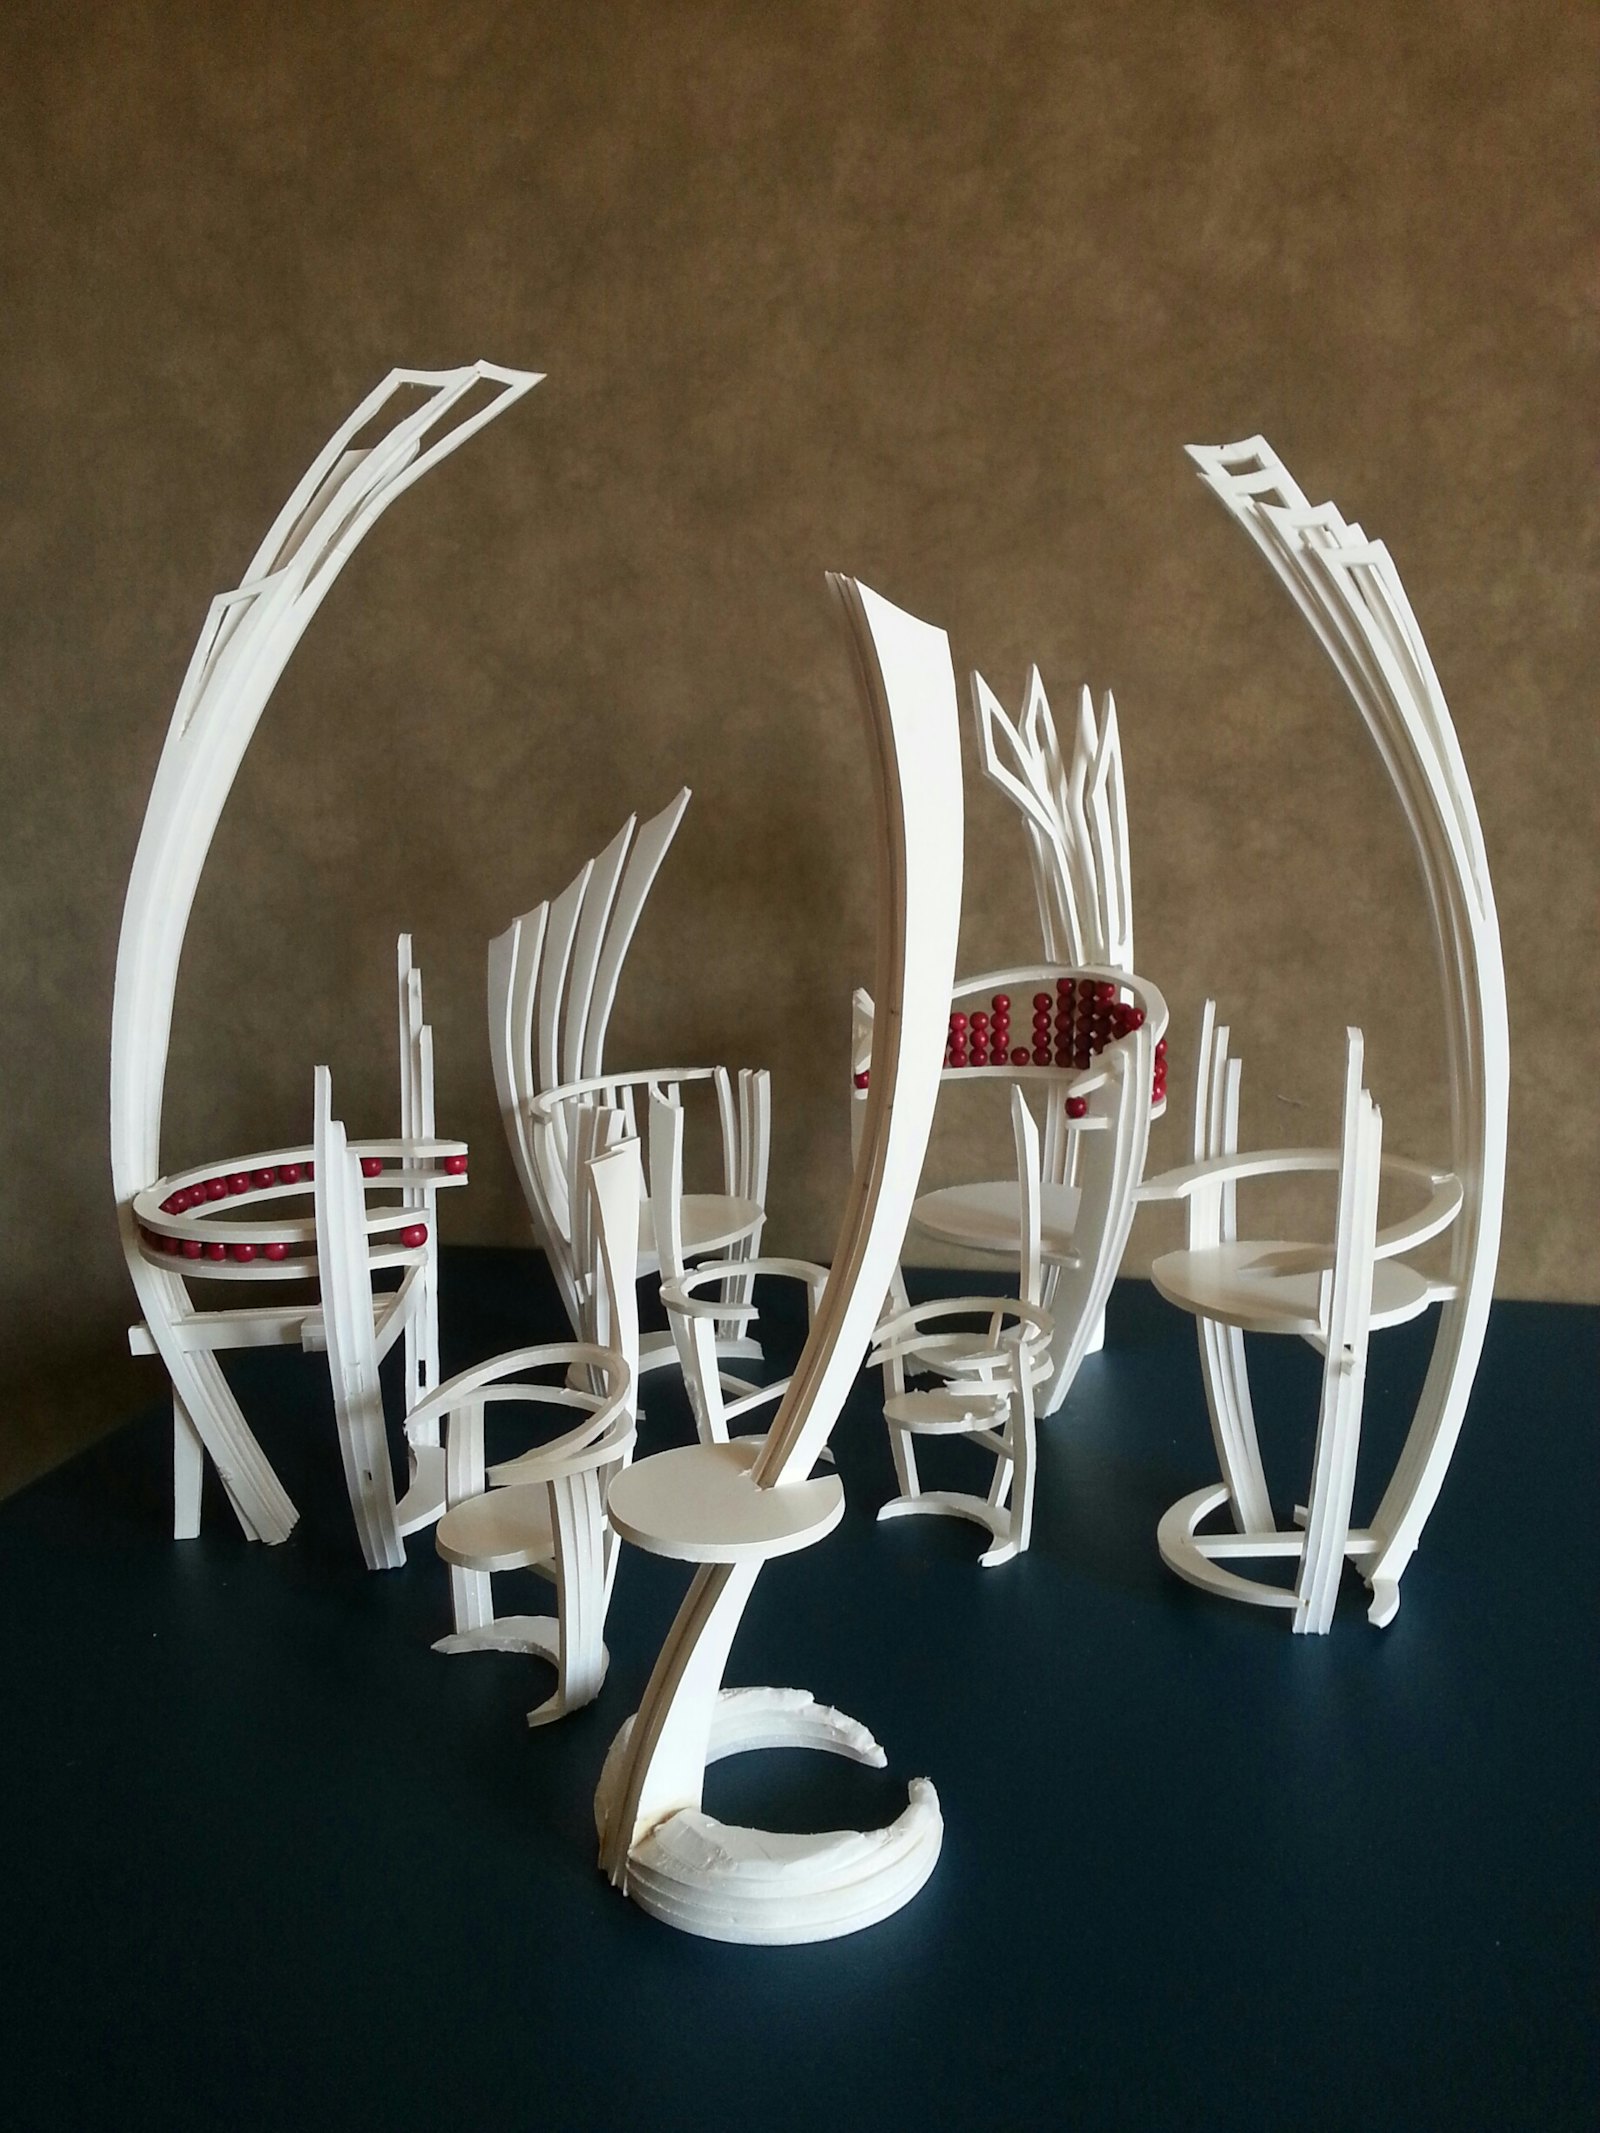
An x-acto blade and a sheet of foam core were my comfort zone, so the design began as a lengthy and frustrating process that produced more than a dozen quarter-scale models – all basically the same with only slight variations on a theme, and all unresolved. I was drawn to the organic and gestural qualities of Art Nouveau, but also the natural rustic qualities of the Arts and Crafts movement. Inspired in part by the Roycrofters, in part by Charles Rennie Mackintosh, and in part by the dancer in me, the chair had to have a substantial form, a high back, and anything but four legs because the challenge of articulating structural strength and balance AND elegance for such a chair was very much like the challenge of a dancing body – of making it look effortless.
My scale models were all dogged with racking issues that I couldn’t overcome without adding unwanted components. The workshop was winding down and I was still floundering. Then, at the eleventh hour, Patrick suggested I explore reversing the crescent-shaped base. In that one move, like magic, the obvious end form instantly revealed itself. It’s two legs and arms disappeared – along with the racking issue, leaving only spine, base and seat. The chair was simple, gestural, quirky and most importantly doable. Making it involved a lot of time on the jigsaw and using hand carving tools, which suited me best. I am so grateful for Patrick’s and Bill’s help with the big cuts and in resolving the construction and connection details. The chair remains 90 percent complete. Ideally, the chair I presented should have been my full scale mock-up, but I was an utterly slow and hesitant student. In the end, though, I learned a tremendous amount, and NOT just about woodworking. My thanks to Centerbrook and to Patrick and Bill for a wonderfully fulfilling learning experience.
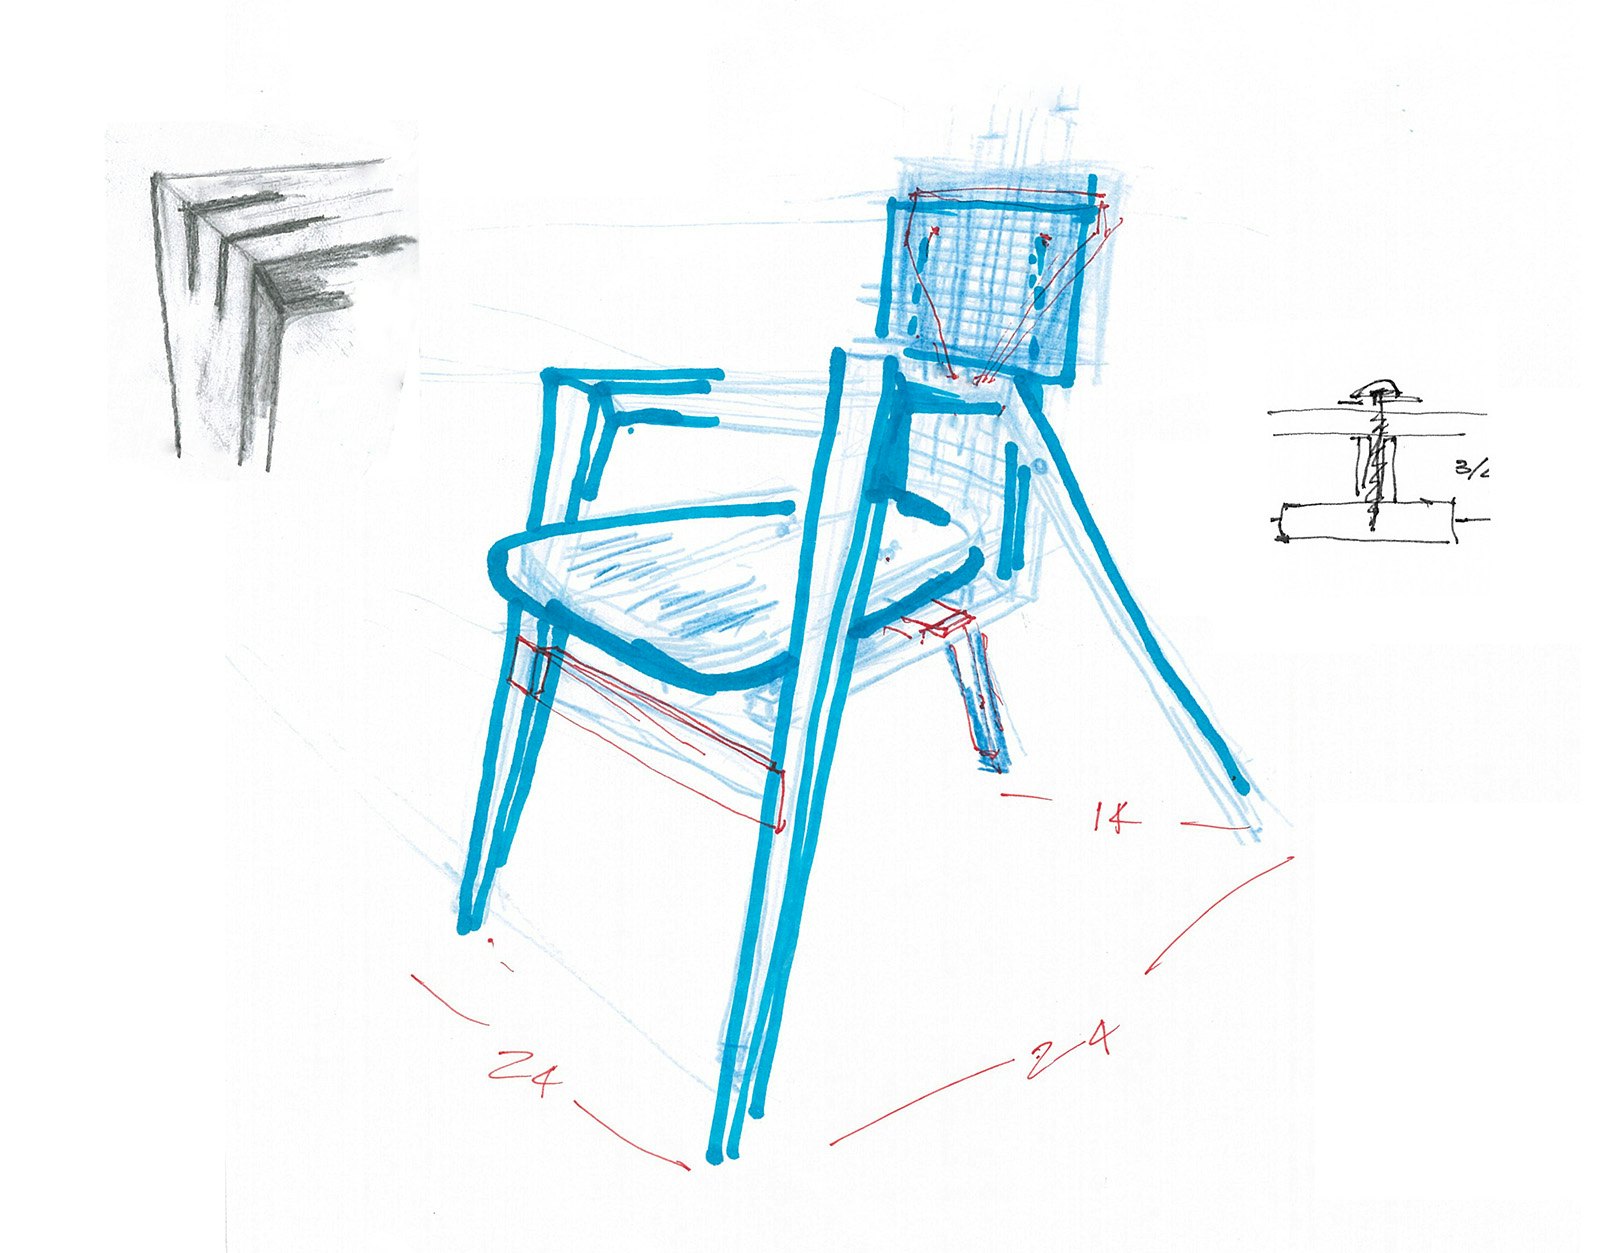
Dan Batt
Dan Batt
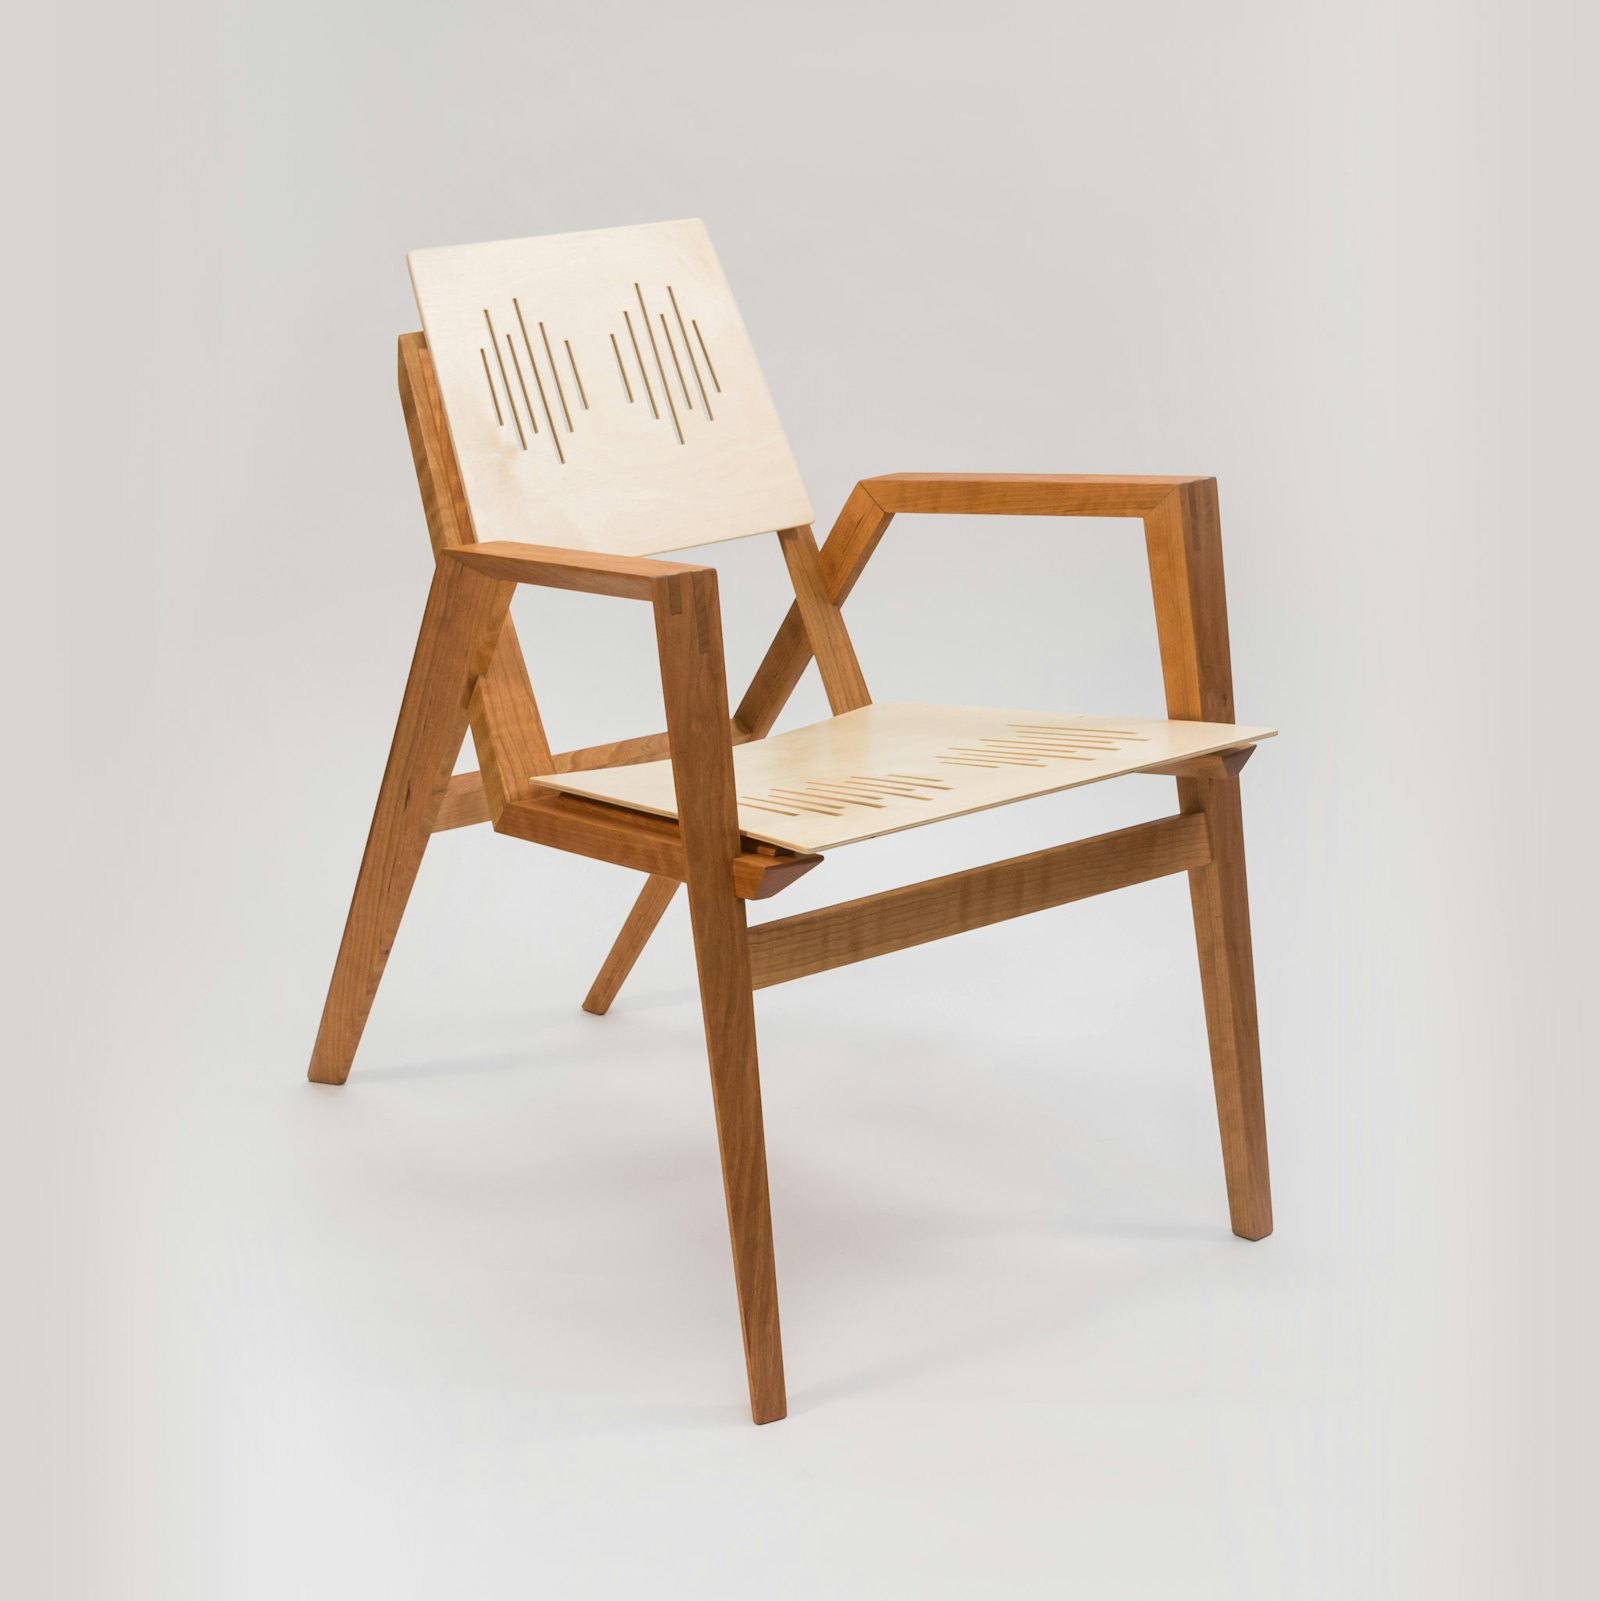
Having worked as a carpenter earlier in life, I’ve sawn, inhaled, and ingested my fair share of saw dust. One thing I’d never done, however, was to build a chair; and a few months into the class I was wondering what the hell I’d gotten myself into. It took three quarter-scaled models and three full-sized mock-ups just to arrive at something visually appealing & physically comfortable. Then came the hard part – joinery – cutting and fitting together compound angled connections to within 1/32nd of an inch accuracy, out of very expensive hard wood, without the safety of an “undo” button, was terrifying. I explored both the strength and flexibility of wood in my chair design. For added comfort, the 1/4” birch plywood seat and back are connected to, but free to flex independently of, the rigid cherry frame. The chair’s lines (arms, legs, and seat) converge into a single vanishing point and thus my creation was dubbed the ‘Perspective Chair” by Bill Rutan. The most rewarding part was engineering the connections so that there were no hardware fasteners visible from the front of the chair. The cherry frame joints are held together by splines, and the seat and back are each attached by two oversized thumb screws visible only from behind & below the chair. In the end, it turned out to be one of the most challenging and rewarding projects I’ve ever taken on, and in hindsight, with two master craftsmen instructors at the helm, there never really was anything to fear.
Charles Mueller
Charles Mueller
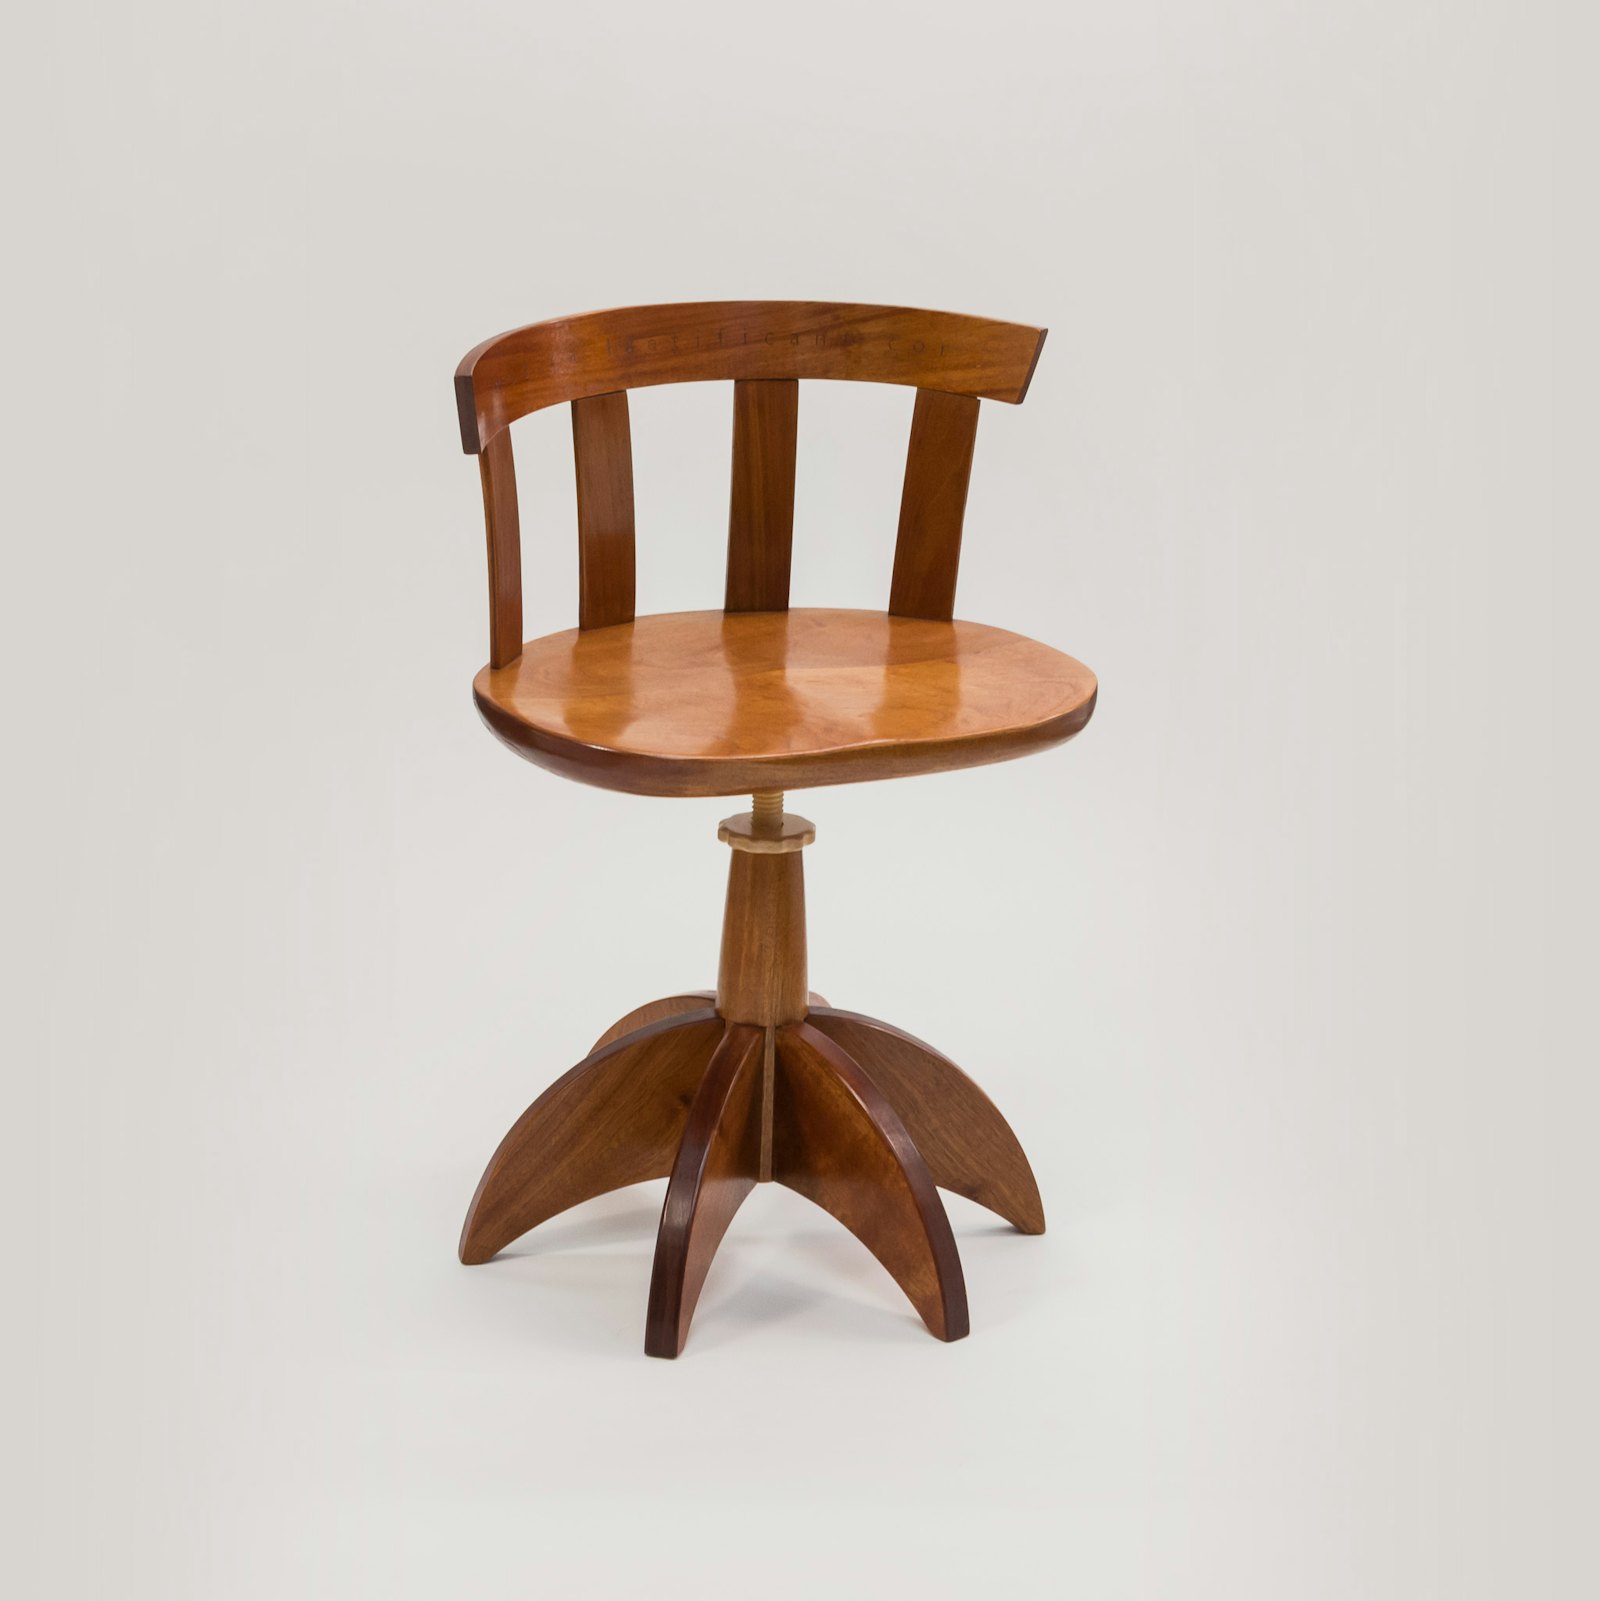
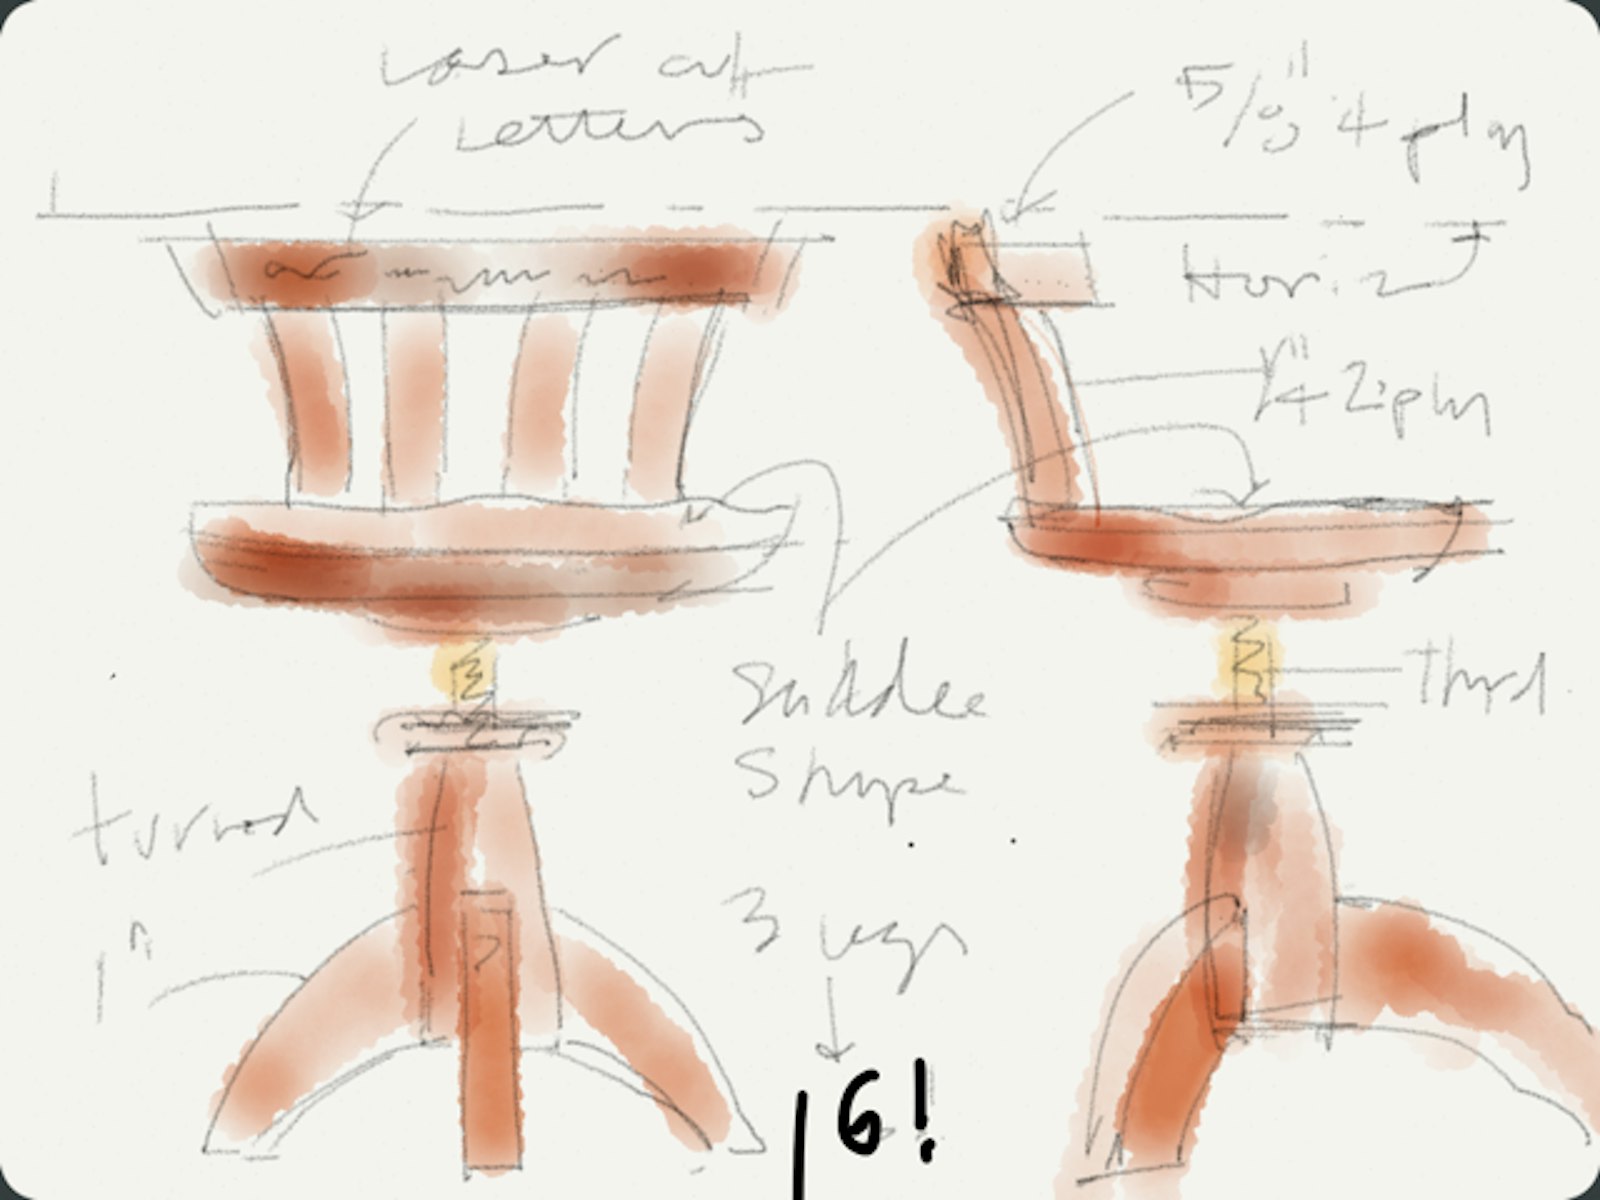
I had three objectives for my chair: to approach the design as if I had a client; to learn a few new woodworking techniques; and to strive for elusive perfection in my joinery. The client, as it turned out, was my 16-year-old son, who had particular requirements for a French Horn practice chair: a low, somewhat upright back; a seat not so wide as to interfere with the bell of the horn; and height adjustability. I learned much about the techniques of turning wood on a lathe: it is a skill that could take years to learn to do really well (and it’s sort of therapeutic to boot!). Bill Rutan was a patient teacher, and I benefitted from his recent attendance at a weeklong lathe master class.
Steam bending and laminating the wood for the seatback slats and top rail was a challenge, particularly because mahogany stubbornly resists bending. Lesson learned. I’m very fond of my chair’s six legs, sweetly attached to the turned shaft with sliding dovetail slots. Why six legs? Well, because I mistakenly set up my dovetail routing jig with stops every 60 degrees rather than every 120 degrees as would have been required for the three legs I had intended. But it is a very happy accident, and now I can’t imagine the chair any other way! I also tried wood threading for the first time, using a special tap and die tool to create the male and female threads in the mahogany shaft and the maple dowel.
I carved the seat’s subtle saddle shape with a scorp, also known as an inshave. Kept sharp, it is very effective, and a formidable weapon, too, I suppose. Lastly, I got some experience with Centerbrook’s laser-cutter, using it to incise an apt Latin phrase in the top ply of the seat rail, prior to laminating it: musica leatificant cor or “music gladdens the heart.” As does chair making, so I’ve found.
Andrew Safran
Andrew Safran
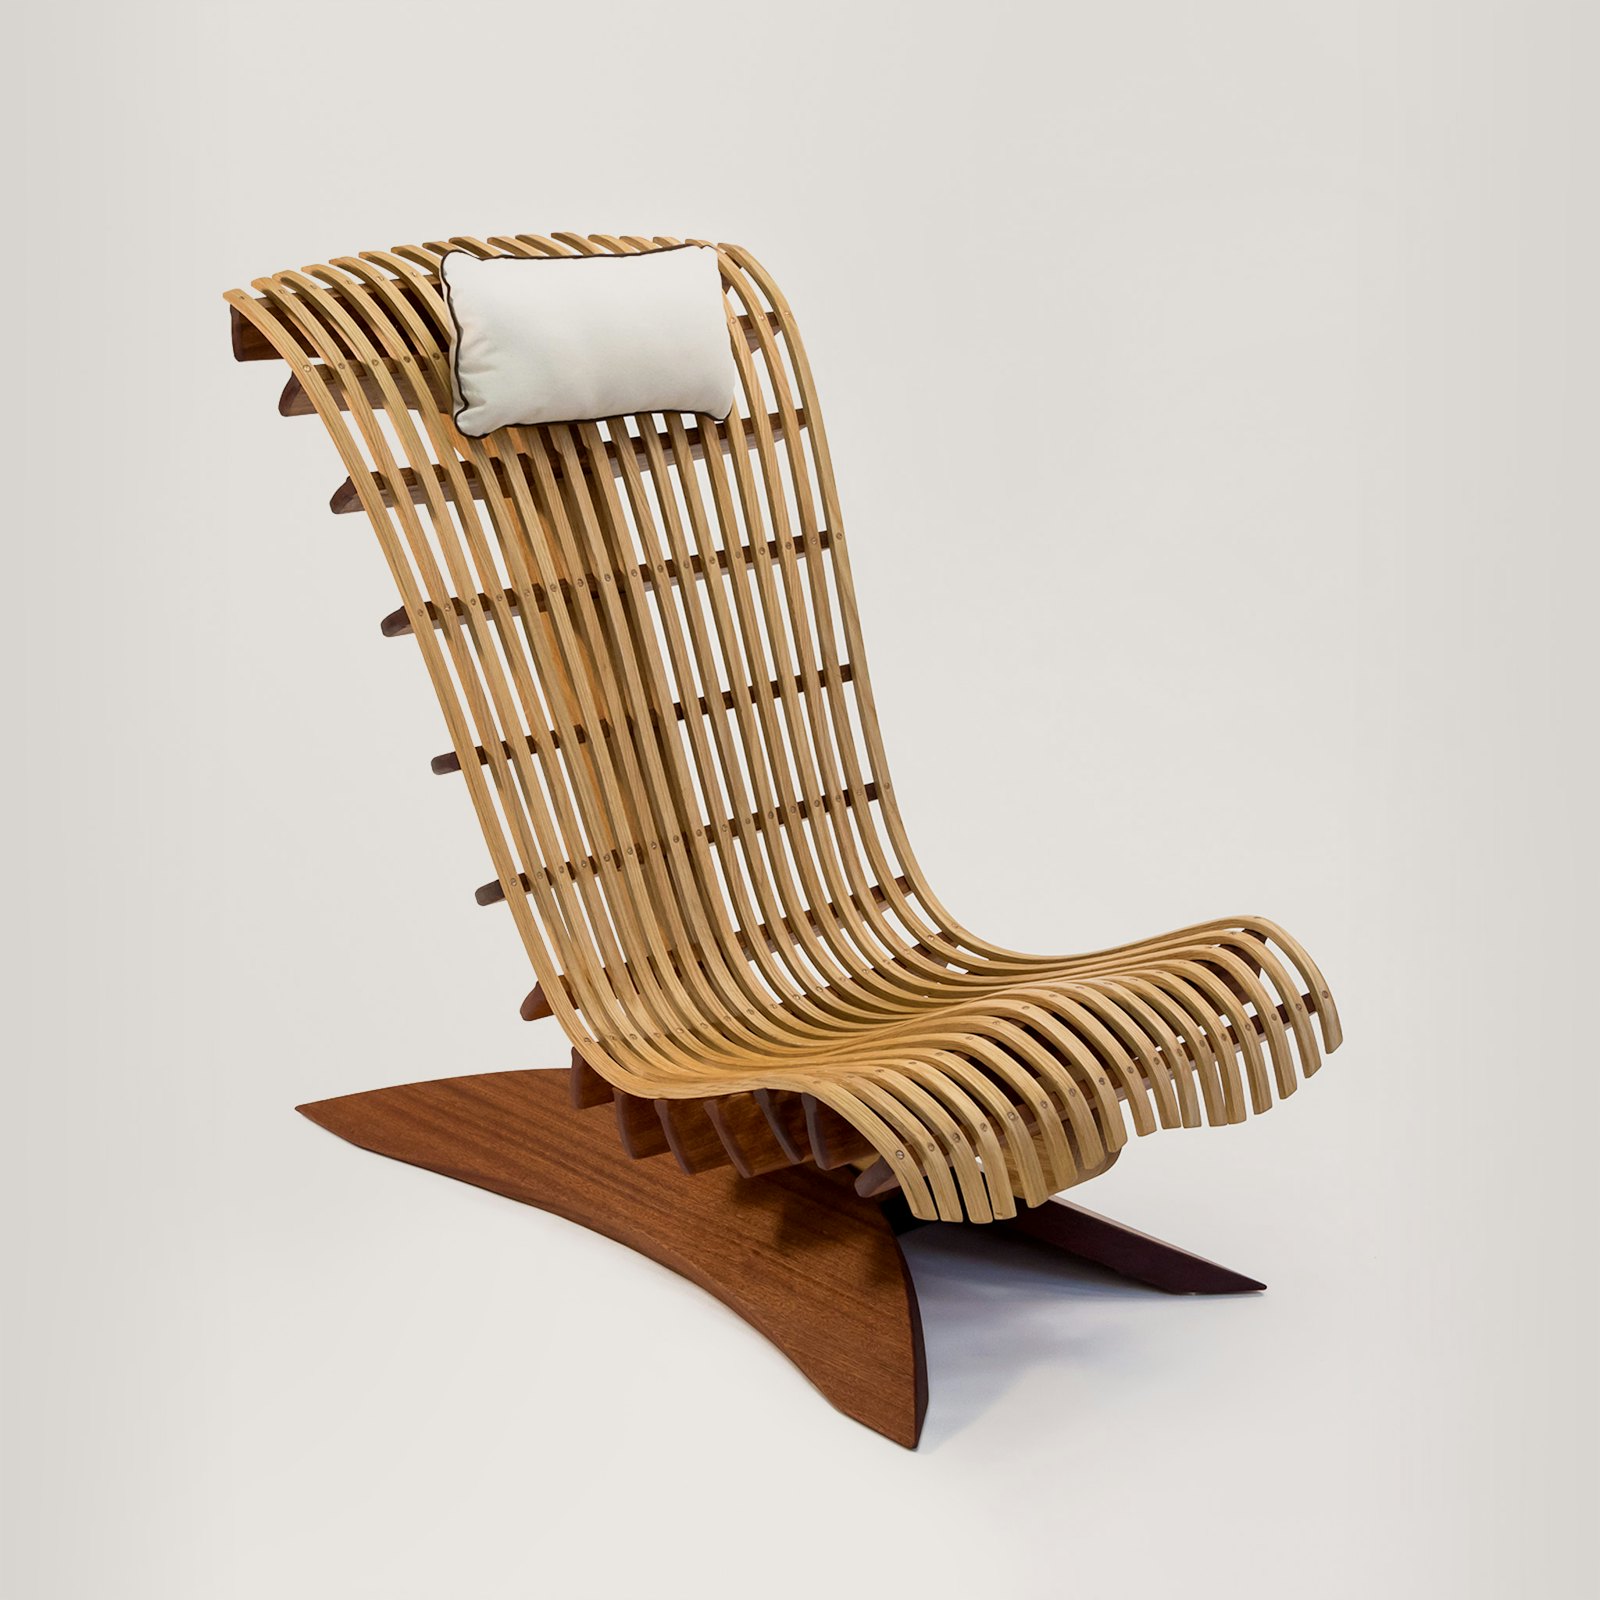
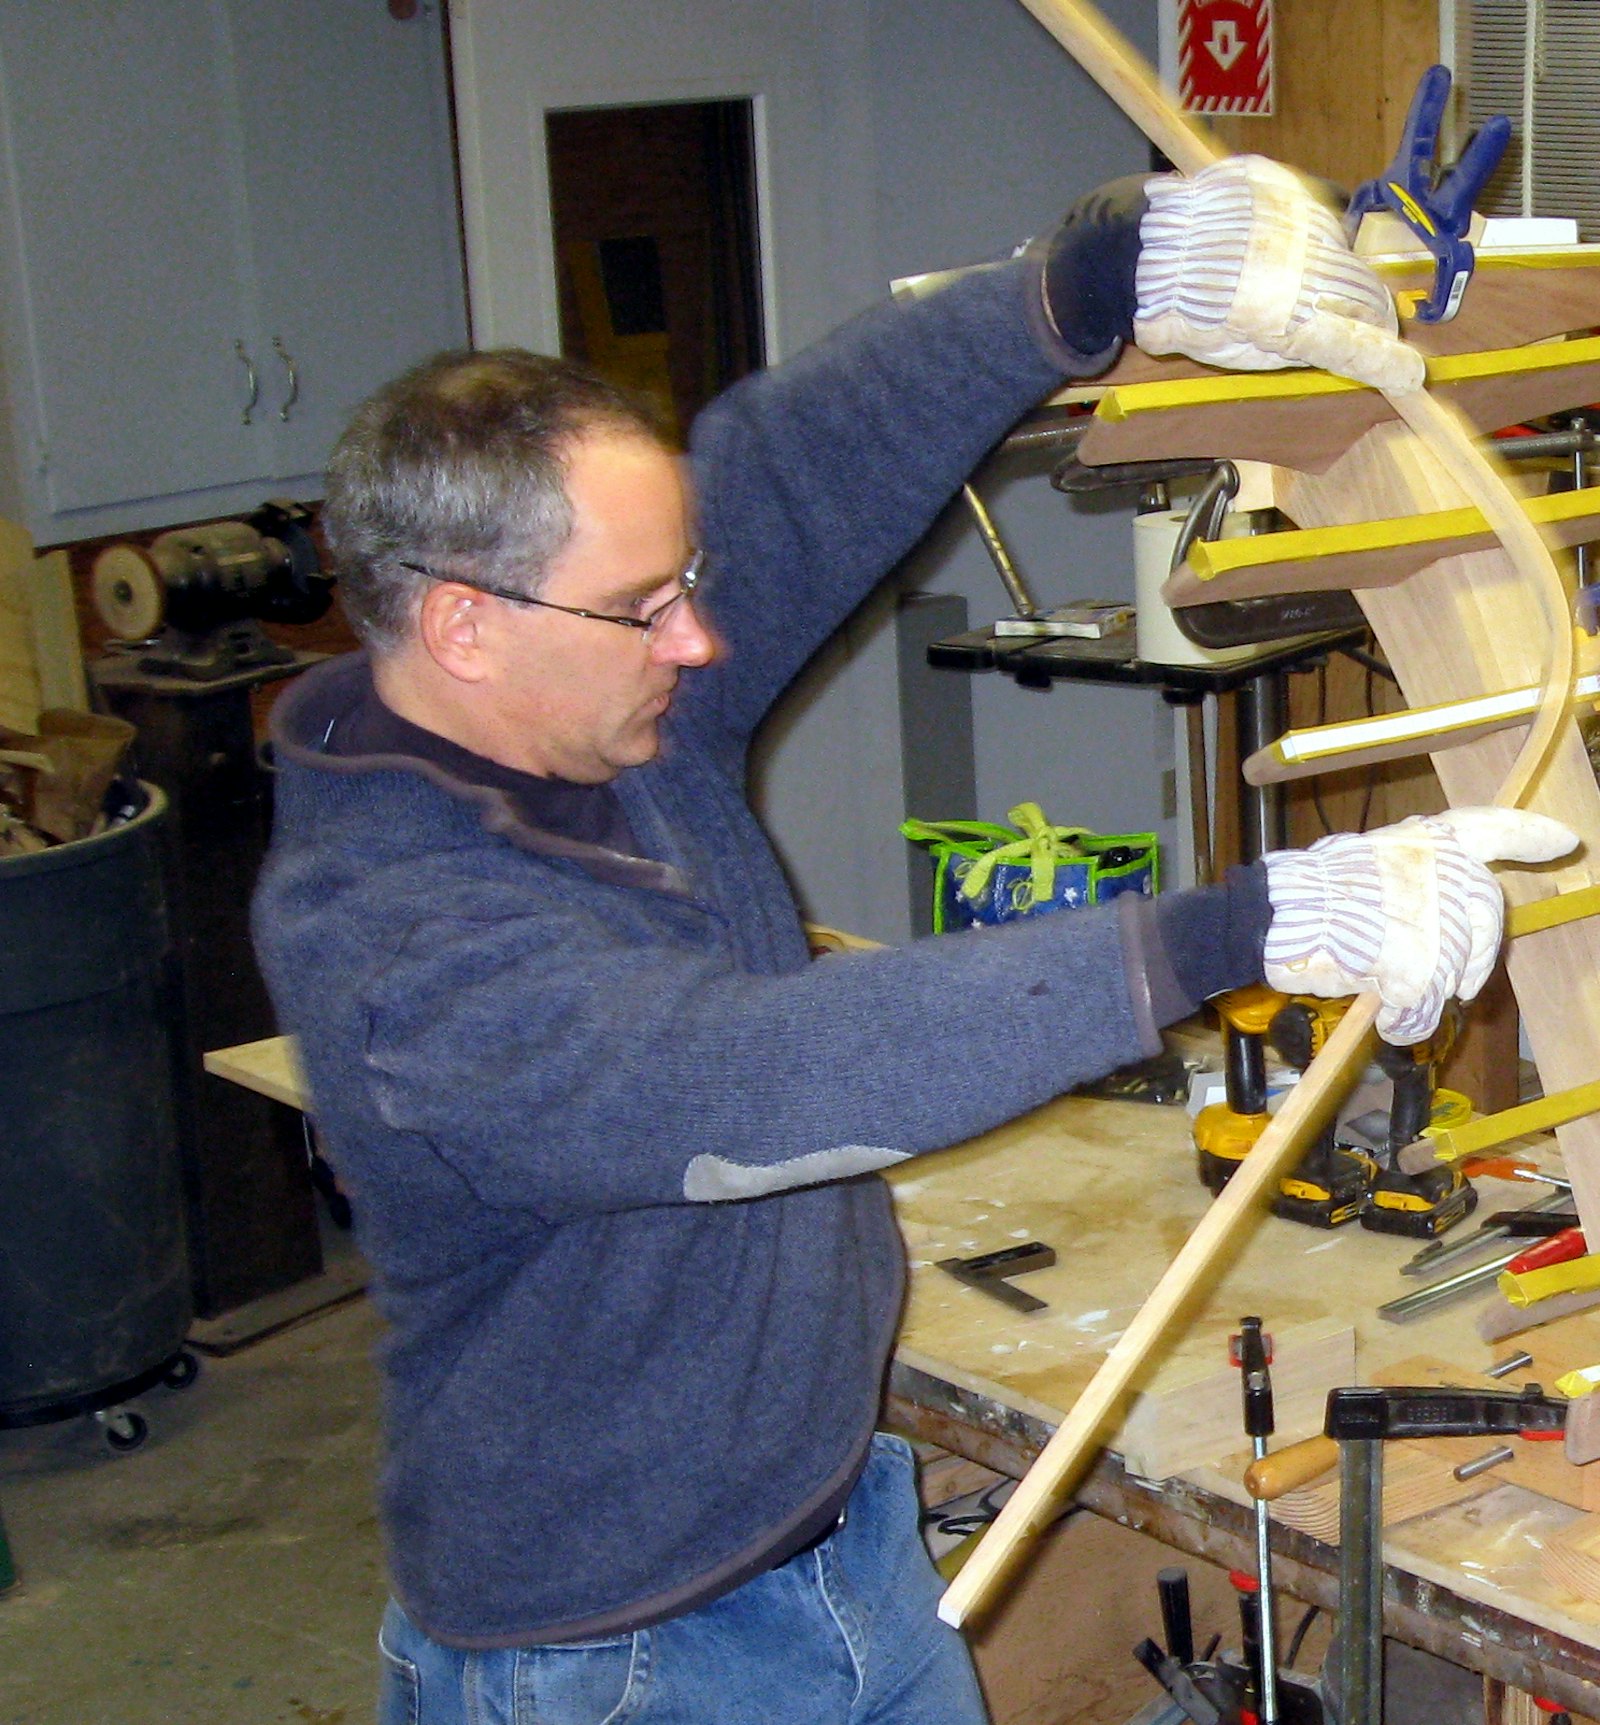
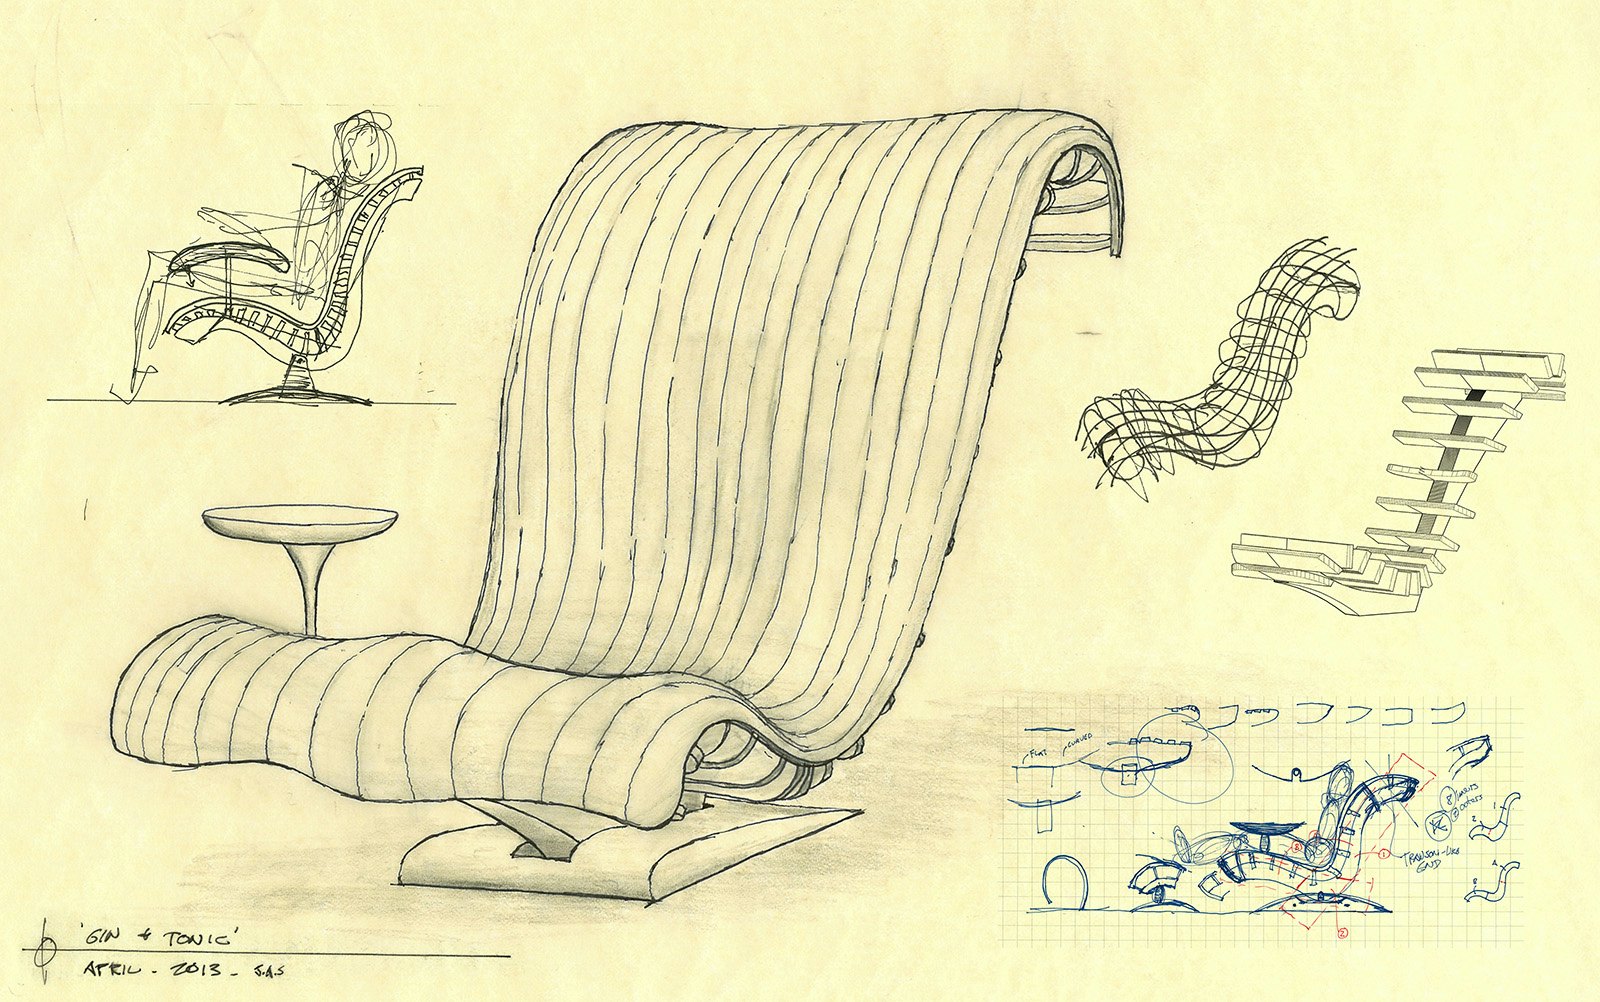
I’ve long had a fascination for wooden boats. Perhaps it’s the pleasing curves, lure to the water, quality of the craftsmanship, or the longevity of these marvelously engineered structures that appeals to me. Mostly, it’s as the Rat explains to the Mole in the Wind in the Willows: “Believe me, my young friend, there is nothing – absolute nothing – half so much worth doing as simply messing about in boats.” And so as I worked through many sketches trying to hone in on a design, my interest in boat construction and messing about prevailed. Nautically inspired, my design features boat-like elements: a wave-like base, laminated keel, shaped frames and steam-bent planking coming together as an invitation to sit. White oak (kiln dried and green), sapele mahogany, waterproof glues, stainless steel and silicon bronze fasteners all hold together the outdoor deck lounge chair designed for watching vessels come and go from your favorite inlet.
Alas, fair curves and fine craftsmanship take a lot more than just messing about. I’d like to think the vision for this chair brought forth the patience, generosity, and enthusiasm that my mentors, friends and family expressed as they encouraged and assisted me through the countless hours of the build. Without a doubt, the day long steam-bending session with my ten-year-old son, and the many late nights in the shop with instructors, friends and other chair builders amount to good fortune that I had not anticipated. But to me, it is clearly evident when I view this chair. My friend describes it as having “soul.” I agree. I see the heart and soul of many reaffirmed friendships, a lot of me, and a design that captures the soul of a fine seafaring vessel. With the feel of warm sturdy wood at my back, a gin and tonic in hand, the sun on the horizon, and an overwhelming sense of accomplishment, I’d say I’ve achieved the charm of messing about.
Dillon Wilson
Dillon Wilson
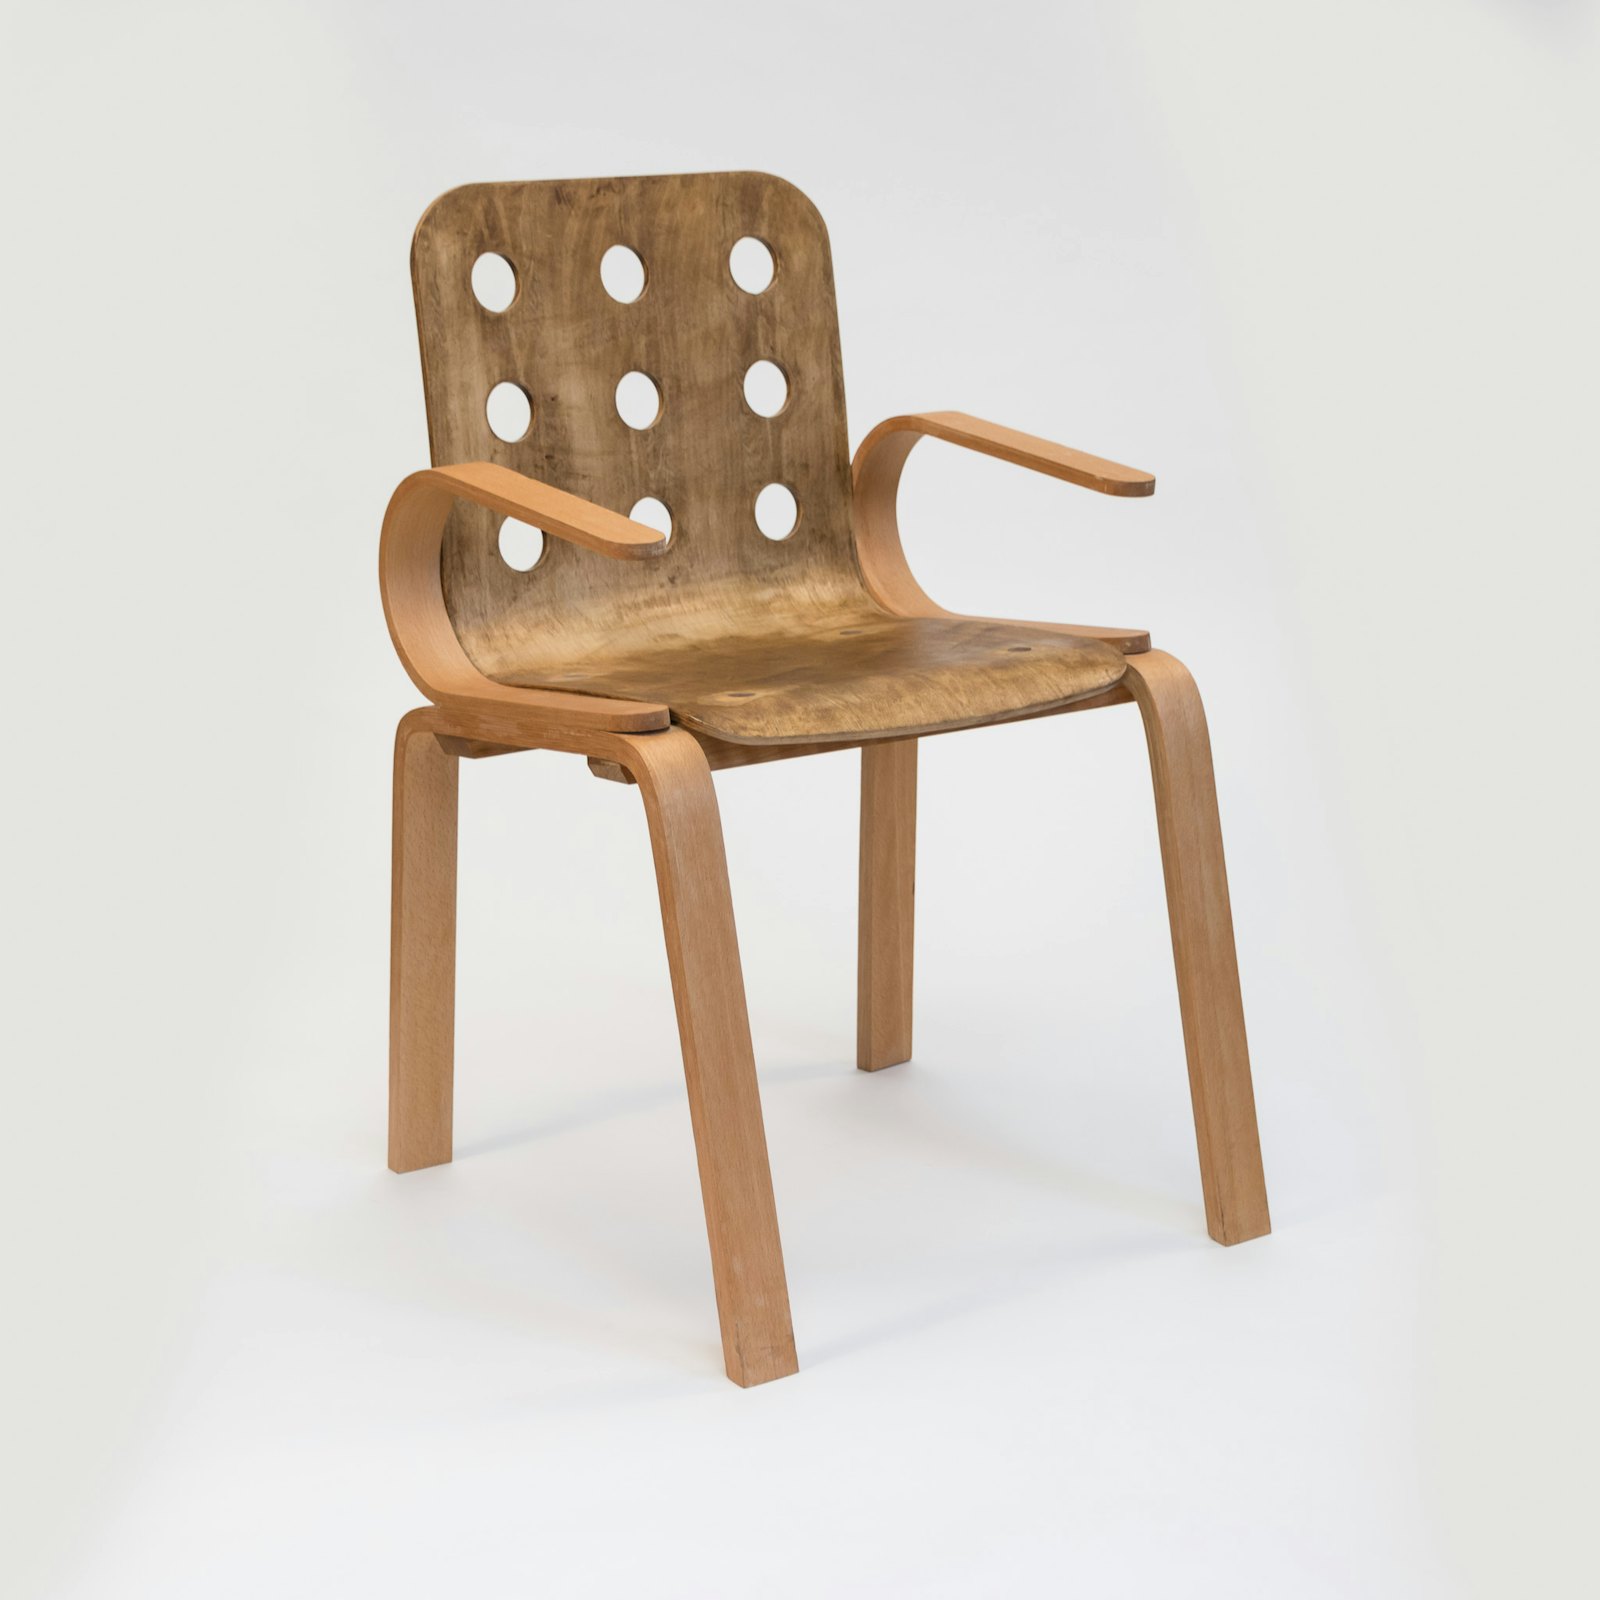
While still in the first months of my internship with Centerbrook and actively searching for any means to experiment with design, I found myself unexpectedly invited to join the “chair fair.” Although I had no design background, I eagerly rose to the challenge. In the beginning, my plan was simply to design a chair that was both elegant and comfortable with special consideration given to its fabrication. Through the course of the chair’s creation, it transformed into a call to integrate my ideas about adaptive reuse into practice. At home, my desk-chair fell into disrepair – what others would have seen as waste, I saw as an opportunity.
Above all else, I’d like to think that the workshop taught me flexibility. Just as it was with the decision to change the design of the seat into a recycling project, the challenges I faced throughout the chair workshop had me making many sacrifices in order to accommodate mistakes and new ideas alike. In the end, I stained the industrially-generated seat to articulate more ostensibly its artificiality while leaving the natural color of the hand-crafted, steam-bent cherry and beech frame to manifest itself as something made with great care.
We're using cookies to deliver you the best user experience. Learn More